Instant Pot Boiled Eggs Recipe: Easy and Perfect Every Time
Recipe Allstar / 12 months
March 31, 2025
0
11 min read
What if you could make flawless boiled eggs without the guesswork? No more rubbery yolks, cracked shells, or peeling disasters. Let’s face it—traditional stovetop methods are finicky. But here’s the secret: your pressure cooker can deliver consistent results every single time.
This approach uses a simple 5-5-5 method—5 minutes to pressurize, 5 minutes to cook, and 5 minutes to release pressure naturally. Add an ice bath, and you’ll get creamy yolks and shells that slide off effortlessly. Whether you’re meal-prepping or making deviled eggs, this technique adapts to your needs.
Say goodbye to uneven cooking or wasting half the egg stuck to the shell. With the right water level and a steamer basket, even fresh eggs peel like a dream. Plus, you can cook up to six at once without stacking. Ready to transform your kitchen routine?
Key Takeaways
Master the 5-5-5 method for foolproof results: 5 minutes pressurizing, cooking, and releasing.
Use 2 cups of water and a steamer basket to prevent cracks and ensure even cooking.
Natural pressure release followed by an ice bath guarantees easy peeling.
Works flawlessly with fresh or older eggs, regardless of shell color.
Cook up to six eggs at once for efficient meal prep.
The Joy of Perfect Hard-Boiled Eggs
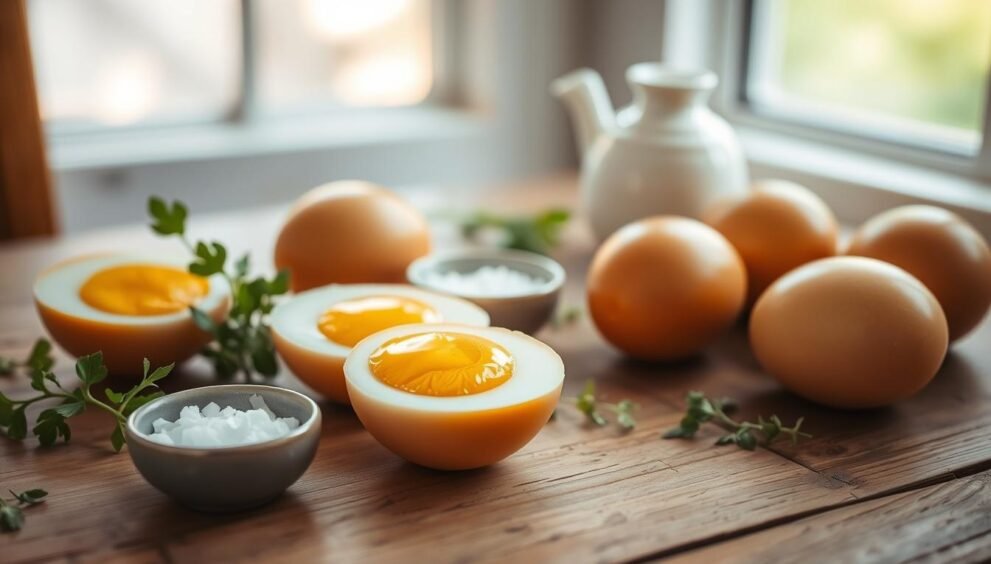
A flawless egg can elevate dishes from ordinary to extraordinary in seconds. Picture golden yolks with a custard-like consistency, nestled in tender whites that peel away cleanly. This isn’t luck—it’s science. As food blogger Emma Christensen notes, “The right technique turns even grocery-store eggs into showstoppers.”
Why does this matter? Think about deviled eggs at a family reunion. Cracked shells or crumbly yolks ruin presentation. With reliable methods, you get smooth, unblemished results every single time. No more guessing if older eggs will cooperate or worrying about rubbery textures.
Factor
Traditional Method
Pressure-Cooked
Peelability
Inconsistent
Shells slide off
Yolk Color
Risk of green rings
Vibrant yellow
Consistency
Varies by stove
Same results weekly
This approach shines for holidays or quick snacks. Fresh eggs? No problem. Crowd-pleasing deviled eggs start here. Even better—no special skills needed. Just follow the steps, and enjoy creamy centers without overcooked edges.
An ice bath locks in texture while stopping the cooking process. That’s why yolks stay buttery, and whites stay silky. Whether you’re hosting or meal-prepping, it’s a game-changer. Your breakfasts and appetizers just got a major upgrade.
Why Use the Instant Pot for Boiled Eggs
Ever struggled with eggs that refuse to peel cleanly? Traditional stovetop methods often lead to frustration—uneven cooking, cracked shells, and stubborn membranes. The solution lies in leveraging modern kitchen tech for foolproof results.
Advantages Over Traditional Methods
Stovetop boiling relies on guesswork. Water levels fluctuate, and burner heat varies, causing rubbery yolks or undercooked centers. Pressure cookers eliminate these variables with a sealed environment. Steam circulates evenly, cooking every egg identically—no more rotating pans or timing adjustments.
Chef and food scientist J. Kenji López-Alt explains: “High pressure forces steam through shell pores, creating a tiny gap between the membrane and egg white.” This science-backed process means shells slide off effortlessly, even with farm-fresh eggs.
Pressure Cooking Benefits
Here’s why this method outperforms conventional boiling:
Energy efficiency: Uses 60% less water than stovetop methods
Time savings: Cooks multiple batches faster without reheating water
Texture control: Natural pressure release prevents sudden temperature shocks
Most models reach 10-12 psi (pounds per square inch), creating ideal conditions for tender whites and creamy yolks. You’re not just cooking—you’re engineering perfection through physics. Once you try this approach, those finicky stove experiments will feel like ancient history.
Essential Ingredients and Tools
Cooking success starts with the right foundation. While the process seems simple, your choices in the prep stage determine whether you’ll get silky results or sticky messes. Let’s break down what truly matters.
Choosing Fresh Eggs
Quality matters more than you might think. Farm-fresh options often have tighter membranes, making peeling tricky. But here’s a pro tip: eggs stored for 7-10 days work best. If using newly laid ones, let them sit at room temperature for 30 minutes before cooking. This relaxes the proteins slightly.
Test freshness by placing them in a bowl of cold water. Sinkers are good; floaters? Toss those. For consistent results, stick with large eggs—they cook more evenly than smaller sizes.
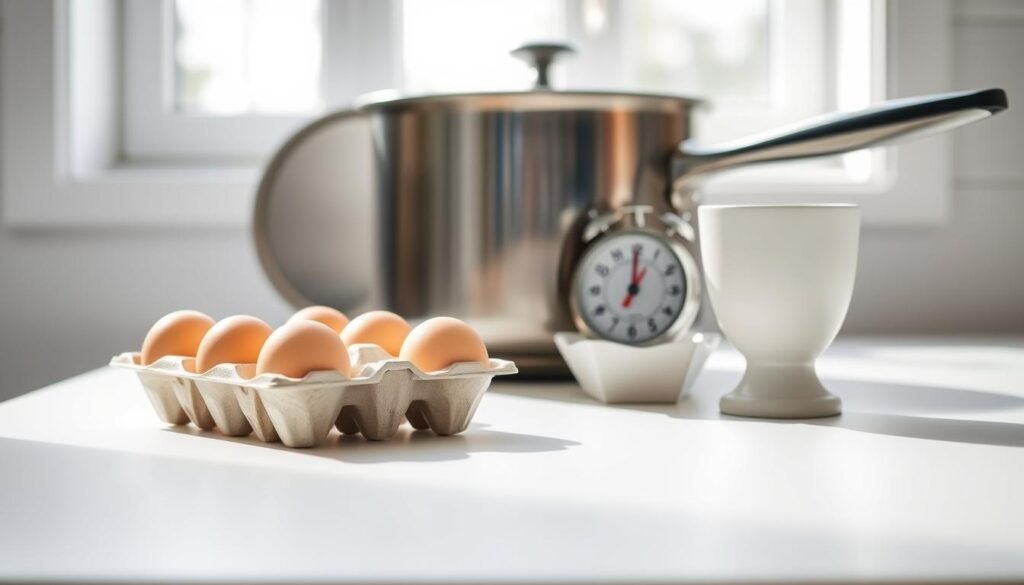
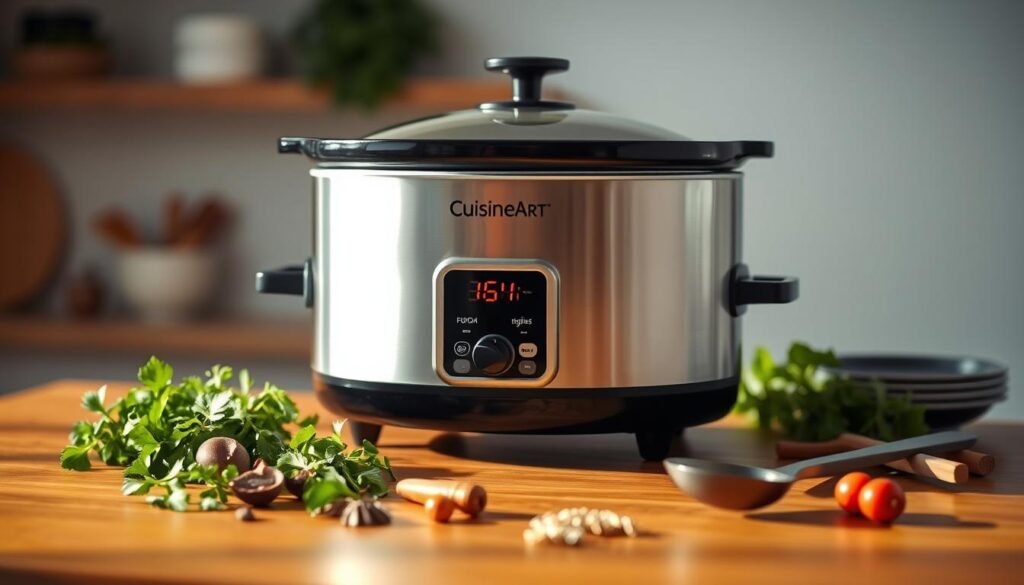
Equipment and Utensils Overview
Your toolkit makes or breaks the process. Start with 1 cup of water—the minimum most models require for safe pressurizing. A stainless steel steamer basket keeps shells intact by preventing direct contact with boiling liquid.
Other must-haves:
Measuring cup for precise water amounts
Tongs to handle hot items safely
Ice bath setup (bowl + cold water + ice)
Follow your appliance’s manual for water levels. Too little risks burning; too much dilutes flavor. With these basics covered, you’re set for hassle-free peeling and creamy yolks every time.
Step-by-Step Instant Pot Cooking Process
Mastering the perfect egg doesn’t require chef-level skills—just precise timing and a reliable process. Let’s walk through each phase to transform raw ingredients into velvety results.
Setting Up the Pressure Cooker
Begin by pouring 1 cup of cold water into your appliance’s inner pot. Place a stainless steel trivet inside to keep shells from touching hot surfaces. Arrange up to six large eggs in a single layer—overcrowding causes uneven results.
Secure the lid and turn the valve to “Sealing.” Select manual mode and set the timer for 5 minutes at high pressure. The cooker will take about 5 minutes to pressurize before the countdown starts.
Implementing the 5-5-5 Method
Once the timer beeps, resist the urge to quick-release. Let pressure drop naturally for exactly 5 minutes—this gentle transition prevents rubbery textures. “The natural release phase is non-negotiable for creamy yolks,” advises Emma Christensen.
After releasing remaining steam, transfer eggs to an ice bath using tongs. The 5-minute chill stops residual heat and loosens membranes. Remember:
First 5: Building pressure (hands-off)
Second 5: Active cooking (set-and-forget)
Third 5: Controlled cooldown (texture protection)
This rhythm creates foolproof consistency. Whether you’re prepping snacks or party platters, the method adapts effortlessly to your schedule.
Instant Pot Boiled Eggs Recipe Technique
Precision separates good results from great ones in pressure cooking. While the 5-5-5 method works for most appliances, slight adjustments ensure perfection across different models. Electric and stovetop cookers operate at varying PSI levels—a critical factor often overlooked.
Navigating Cooker Variations
Electric models typically maintain 10-11 PSI, while stovetop units reach 15 PSI. Higher pressure cooks faster but risks overcooking. Chef J. Kenji López-Alt advises: “Reduce stovetop cook time by 1 minute to prevent rubbery yolks.”
Consider these adjustments:
Electric cookers: 5 minutes high pressure
Stovetop models: 4 minutes high pressure
Altitude: Add 5% time per 1,000 feet elevation
Undercooked centers? Increase pressure time by 30 seconds. Green yolk rings signal overcooking—reduce by 45 seconds next batch. Always use natural release for 5 minutes before quick-releasing remaining steam.
Issue
Solution
Runny whites
+1 minute cook time
Chalky texture
Shorten ice bath to 3 minutes
Remember: residual heat continues cooking during natural release. For silky yolks, timing must account for this carryover effect. Test one egg first if using new equipment—small tweaks make all the difference.
Achieving Easy-Peel Perfection
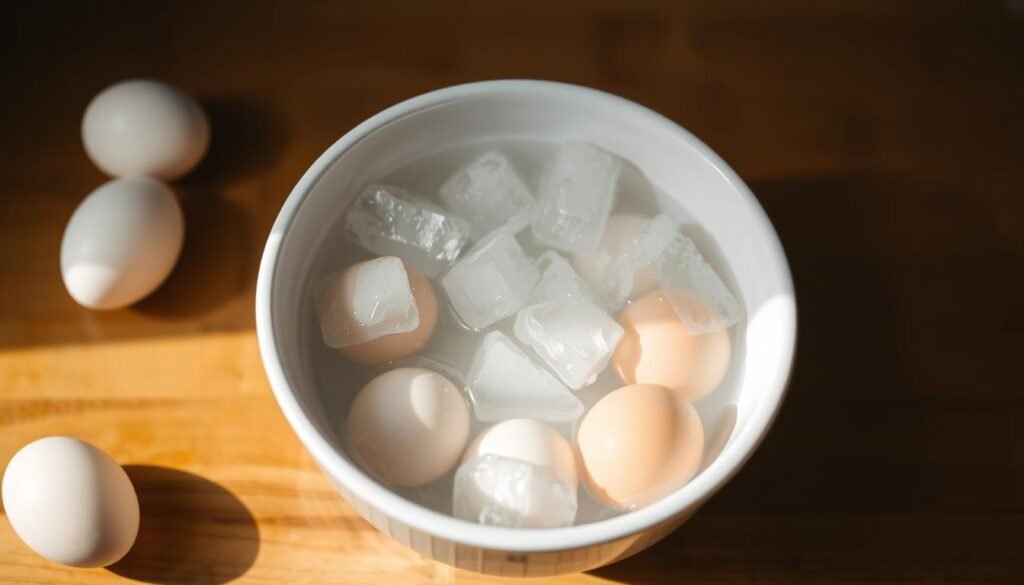
The difference between frustration and flawless results often comes down to one simple step. Cooling techniques transform stubborn shells into cooperative wrappers that slide off like magic. Let’s explore how temperature control unlocks effortless peeling.
Cooling Science Made Simple
Placing cooked eggs in an ice bath stops residual heat from turning yolks chalky. The sudden temperature drop contracts the egg white, creating a tiny gap between the membrane and shell. Chef Michael Ruhlman notes: “This 5-minute chill is the secret weapon for diner-quality peelability.”
Create your ice bath with equal parts ice and cold water. Submerge eggs immediately after cooking for at least 5 minutes—no shortcuts. Timing matters:
Under 3 minutes: Membranes cling to whites
5 minutes: Ideal separation
Over 10 minutes: No added benefit
Peeling Like a Pro
Gently tap eggs on a flat surface to create cracks. Roll them under your palm to loosen the shell, then peel under cool running water. The water acts as a lubricant, helping remove stubborn bits without tearing the white.
Method
Success Rate
Time Required
Tap & Roll
95%
15 seconds
Spoon Technique
80%
30 seconds
Shaking in Jar
70%
10 seconds
Farm-fresh or store-bought, this approach works every single time. Consistent cooling prevents those annoying craters in your whites. Now you’re ready to create picture-perfect snacks or appetizers without the struggle!
Troubleshooting Common Egg Cooking Issues
Even experienced cooks face challenges with egg prep sometimes. Let’s solve three frequent headaches—cracked shells, uneven textures, and pressure mishaps—with science-backed fixes.
Shell Protection Strategies
Cracks often happen when eggs bounce during pressurizing. Always use a trivet and cold water—never boiling—to cushion them. Chef Alison Roman advises: “Stacking more than six increases collision risk. Keep them in a single layer.”
Issue
Cause
Fix
Webbed cracks
Rapid temperature change
Use room-temp eggs
Vertical splits
Overcrowding
Limit to 6 per batch
Texture Troubleshooting
Rubbery whites or chalky yolks? Your release method matters. Natural pressure release for 5 minutes prevents sudden fat expansion in yolks. Quick-release too soon, and proteins tighten aggressively.
For perfect doneness:
Runny centers: Add 1 minute cook time
Green rings: Reduce natural release to 3 minutes
Sticky shells: Extend ice bath to 7 minutes
Always verify the lid is sealed before cooking. A loose seal drops pressure, leading to undercooked eggs. With this information, you’ll handle many eggs confidently—no more guessing games!
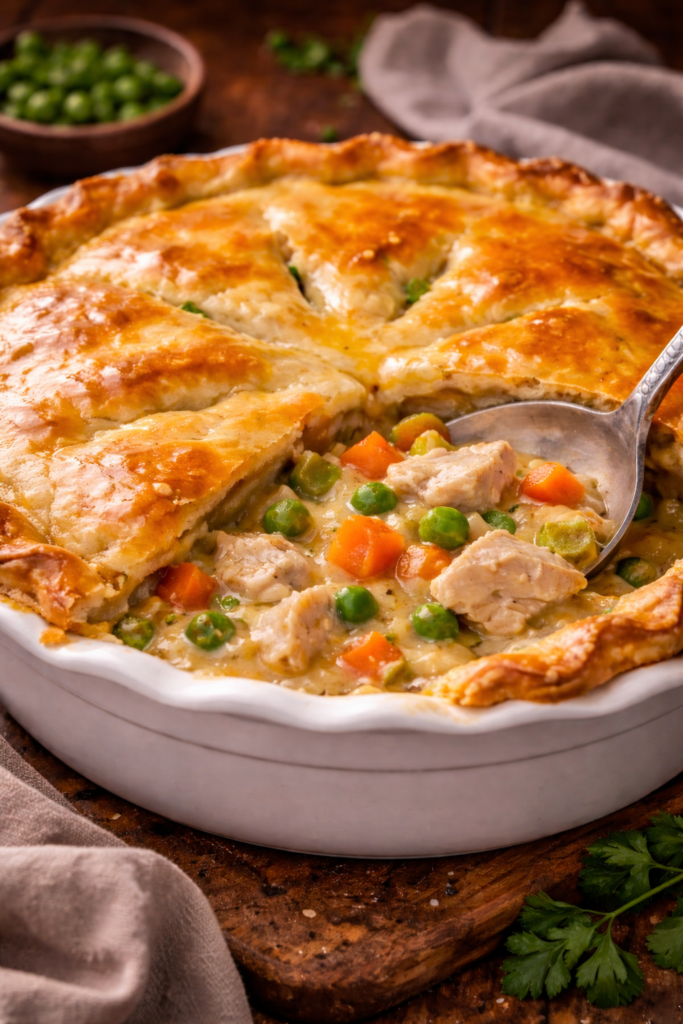
Creative Serving Ideas and Variations
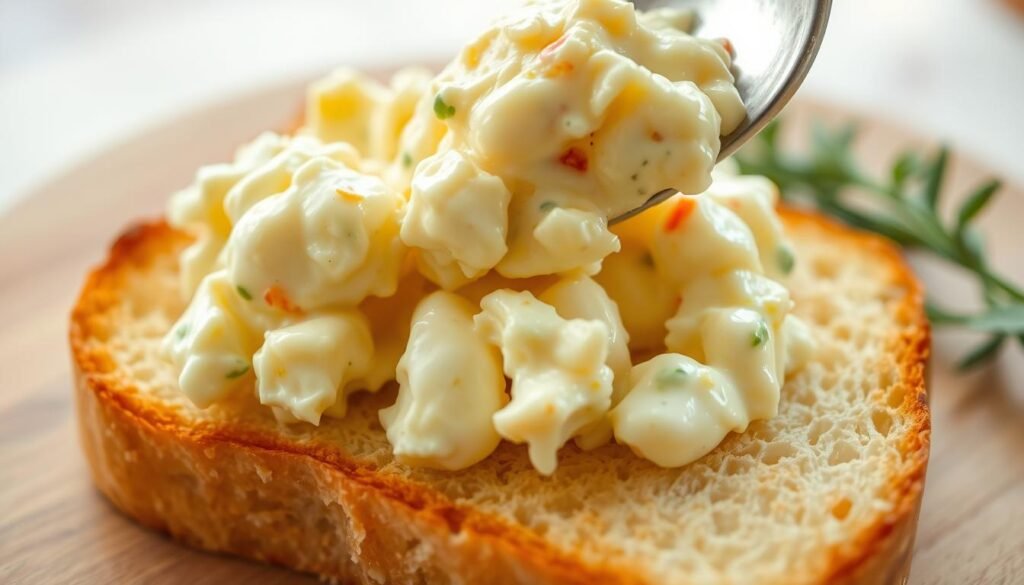
Your kitchen just became a playground for protein-packed creativity. Those velvety yolks and tender whites aren’t just for snacks—they’re blank canvases for flavors. Let’s explore how to turn simple ingredients into crowd-pleasing dishes.
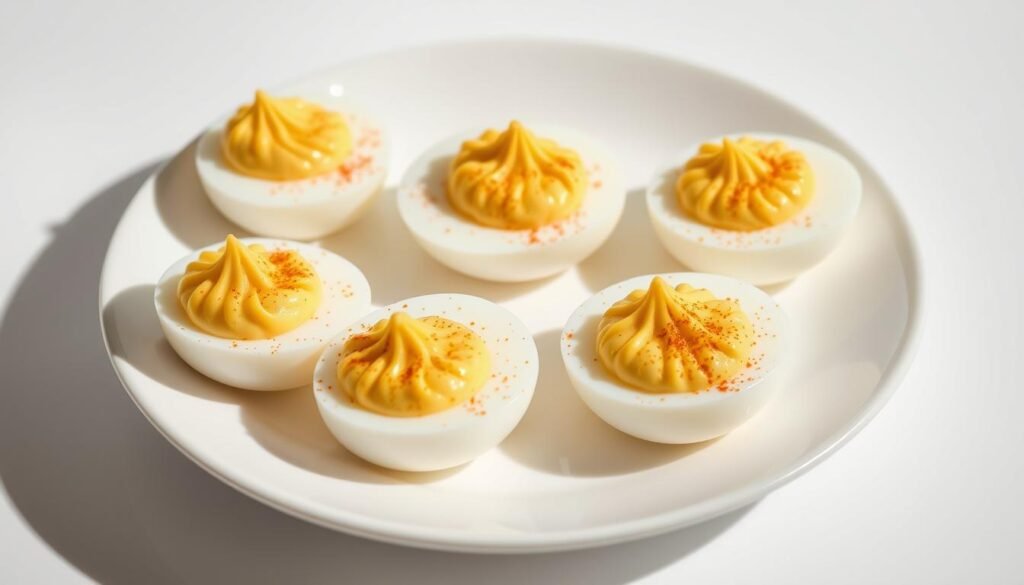
Deviled Eggs and Other Dishes
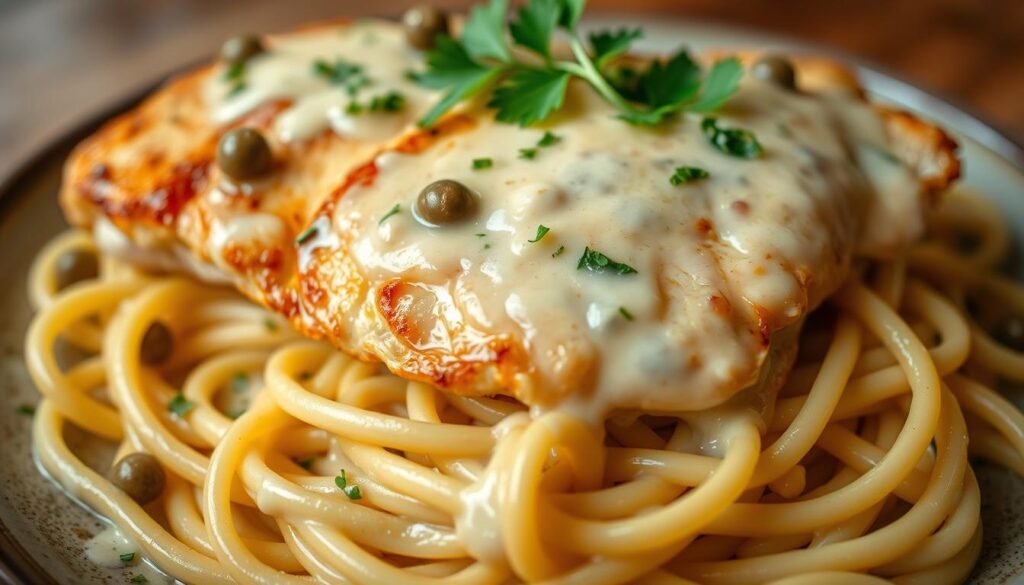
Transform your perfectly cooked results into showstopping appetizers or protein-rich meals. Food bloggers rave about horseradish-spiked deviled eggs topped with crispy BBQ chips. For a Southern twist, mix diced pickles and smoked paprika into the filling.
Try these fresh spins:
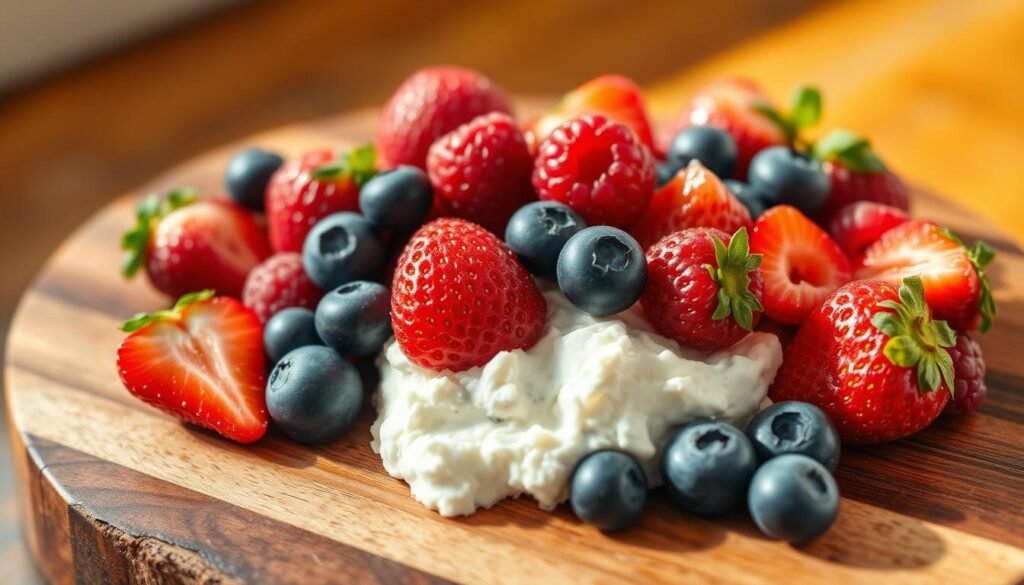
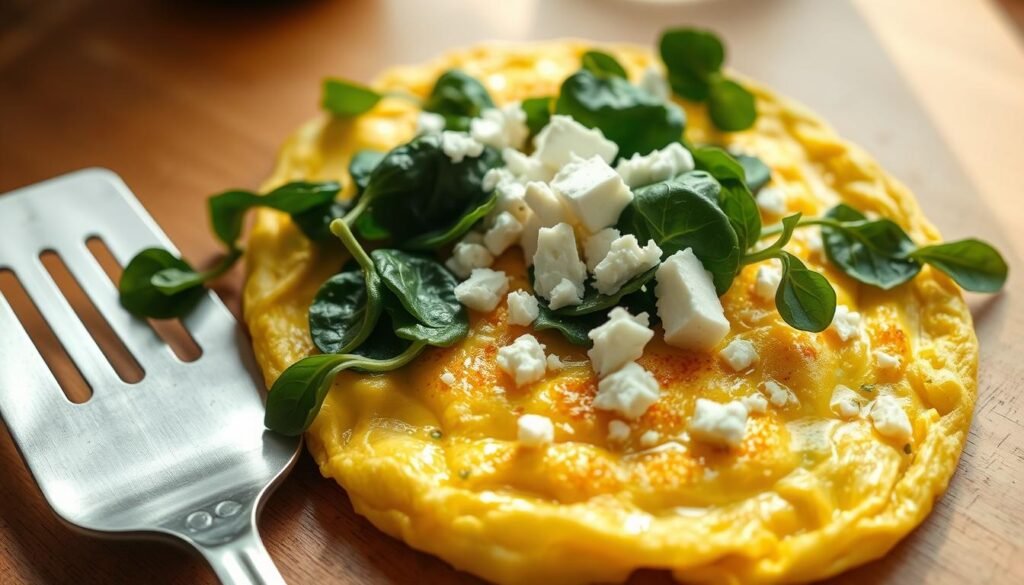
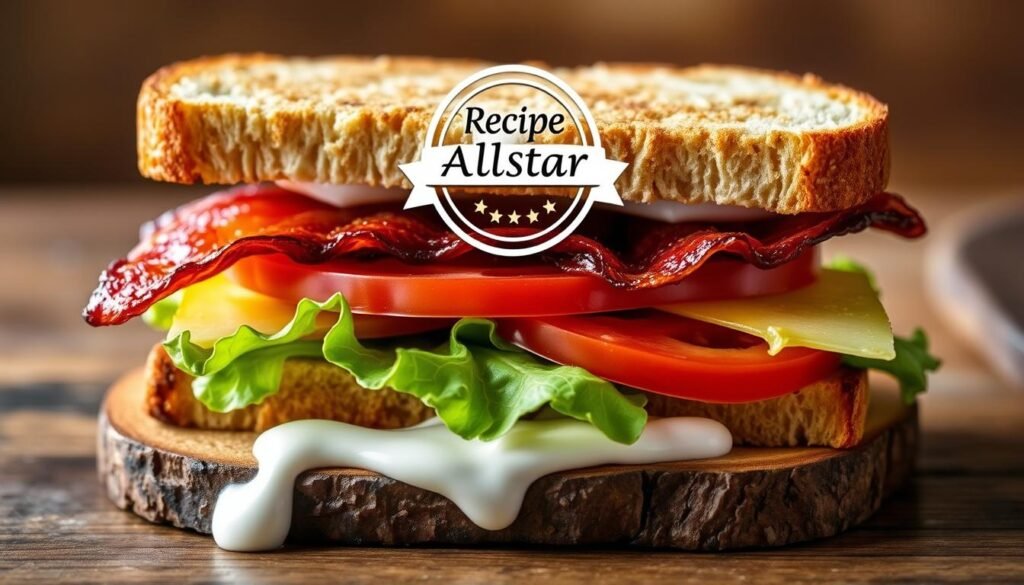
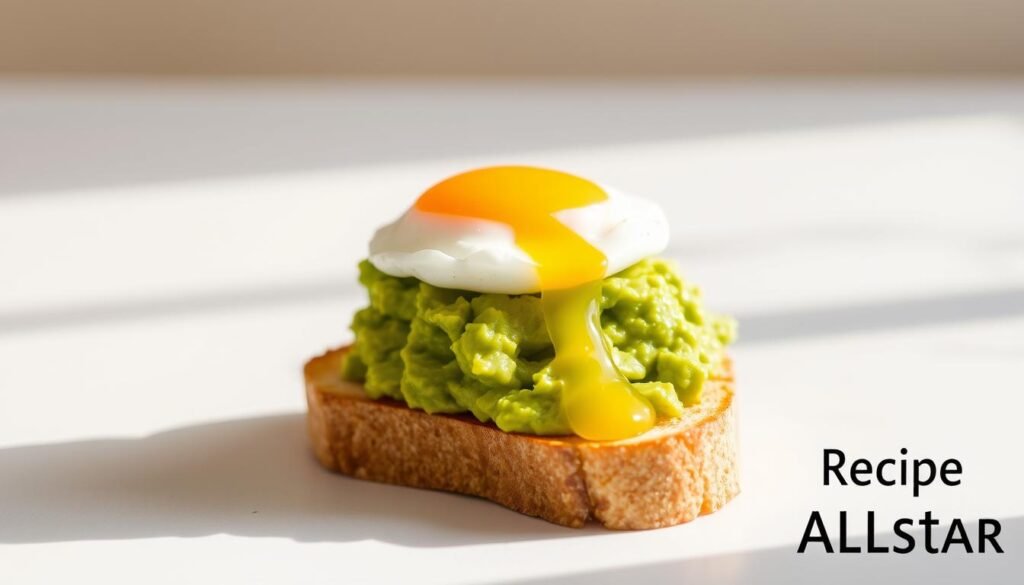
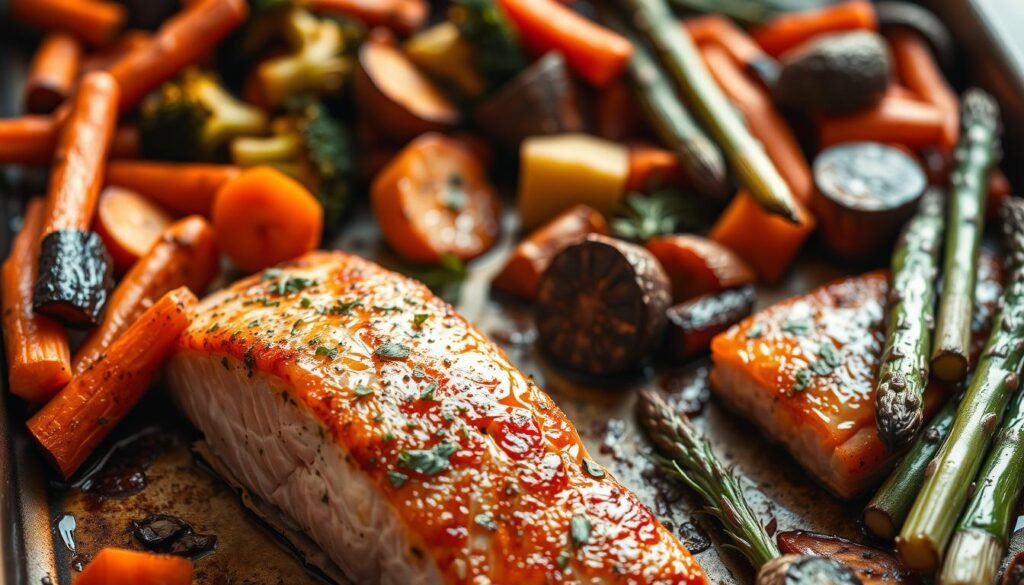
Avocado toast upgrade: Grate whites over smashed avocado, then sprinkle yolks on top
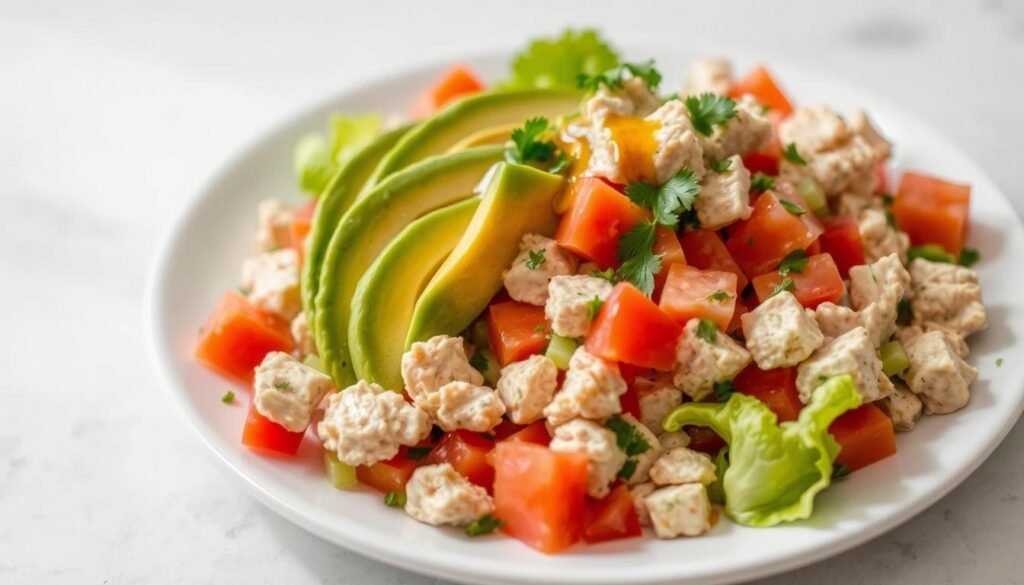
Breakfast salad: Pair sliced results with greens, bacon, and everything bagel seasoning
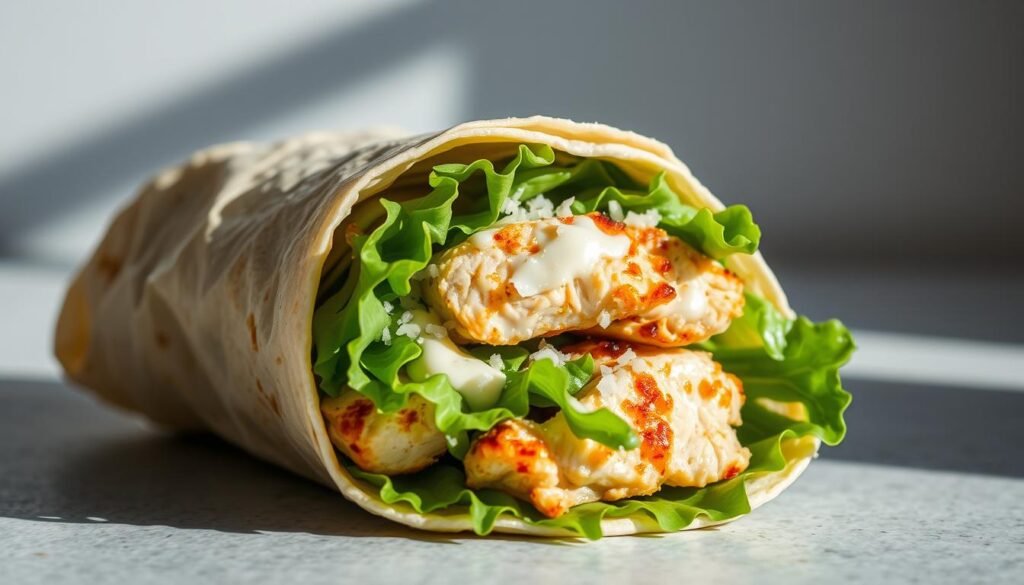
Spicy wraps: Mash with Greek yogurt, sriracha, and shredded chicken
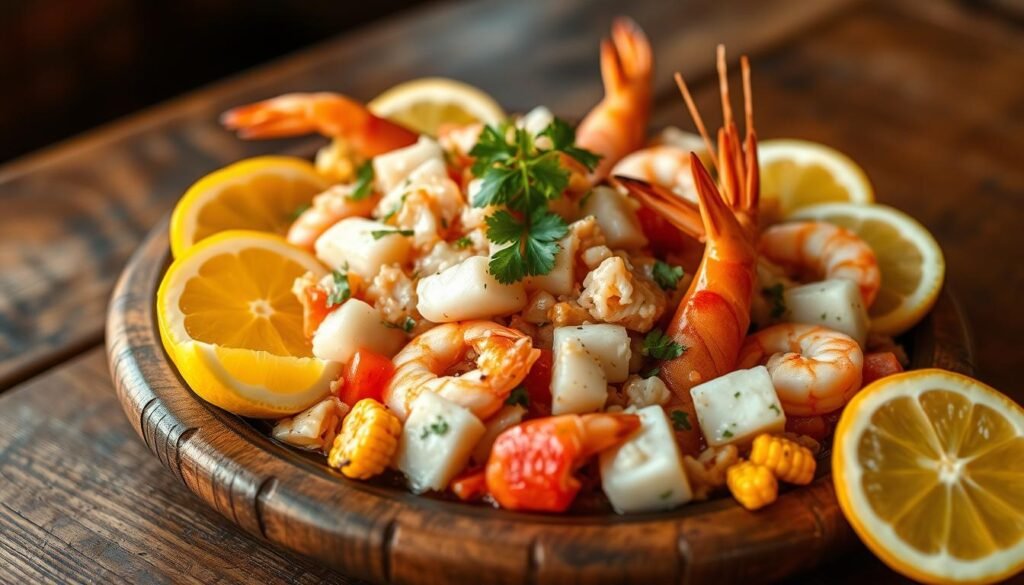
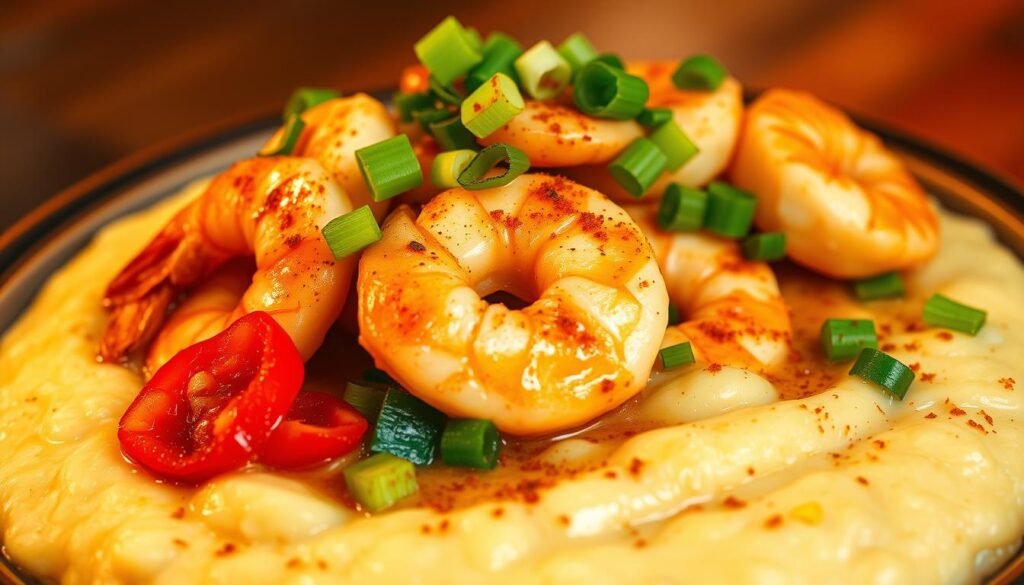
Need quick lunches? Whip up a Creole shrimp salad using smoky seafood and Dijon mustard. Or layer colorful veggies with grated whites in a mason jar for grab-and-go meals. These ideas prove how one kitchen staple can fuel every single craving.
Electric pressure cookers shine here—cook a batch Sunday night, then create five different recipes by Friday. Experiment with curry powder, fresh dill, or even crumbled blue cheese. Your high-protein options just got infinitely more exciting!
Conclusion
Perfectly cooked eggs shouldn’t feel like a kitchen miracle. With the 5-5-5 rhythm—pressurize, cook, and cool—you’ll nail the texture every time. Food writer Emma Christensen puts it best: “This method turns uncertainty into confidence, one batch at a time.”
From setup to ice bath, the process delivers creamy yolks and shells that practically jump off. Whether you’re hosting brunch or prepping snacks, consistent results are just minutes away. The right tools—a trivet and precise water measurement—make all the difference.
Ready to upgrade your routine? Share your creations online or try spicy variations for deviled eggs. Remember: cooking should be fun, not frustrating. Whip up a batch today and taste the difference science makes!
FAQ
What makes an electric pressure cooker better for cooking eggs?
Using a pressure cooker ensures precise temperature control, which reduces overcooking. The steam and pressure gently cook the eggs, leading to consistent results and easier peeling compared to stovetop methods.
How does the 5-5-5 method work?
This technique involves 5 minutes of high-pressure cooking, 5 minutes of natural pressure release, and 5 minutes in an ice bath. It’s a foolproof way to achieve firm yolks and tender whites every time.
Why do some shells stick to the eggs after cooking?
Fresh eggs have tighter membranes, making peeling tricky. For easier removal, use slightly older eggs or shock them in cold water immediately after cooking to loosen the shell.
Can I adjust the cook time for softer or firmer yolks?
Absolutely! Reduce the pressure time by 1–2 minutes for runny yolks or add 1–2 minutes for a denser texture. Always follow with a quick release and ice bath to stop the cooking process.
How do I prevent cracks in the shells during cooking?
Place eggs on a trivet or steamer basket to avoid direct contact with the bottom of the pot. Adding a cup of water beneath the trivet creates steam without jostling the eggs.
What are some creative ways to use perfectly cooked eggs?
Beyond classic deviled eggs, try them in salads, ramen bowls, or as protein-packed snacks. Smoked paprika or fresh herbs can add a flavorful twist to your dishes.