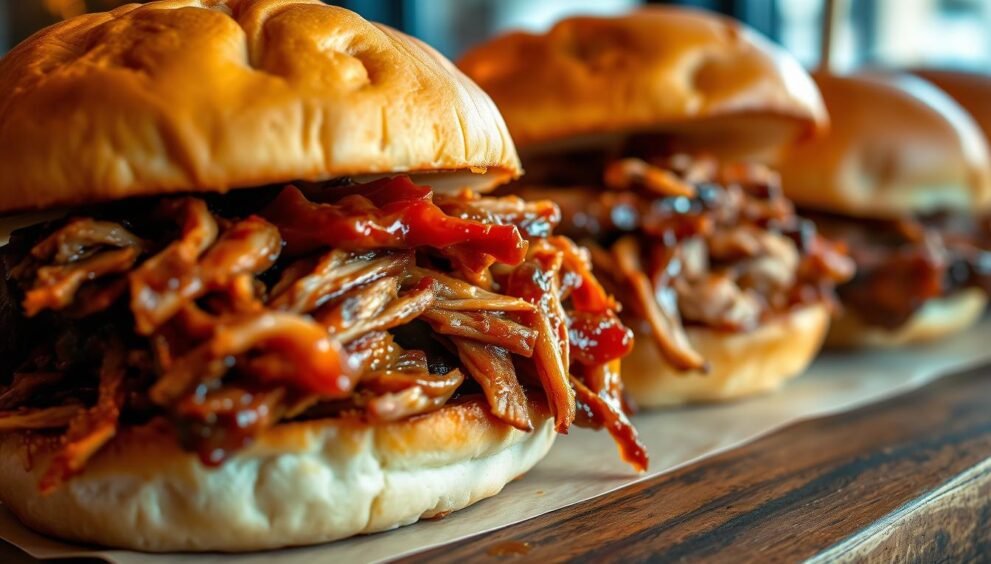
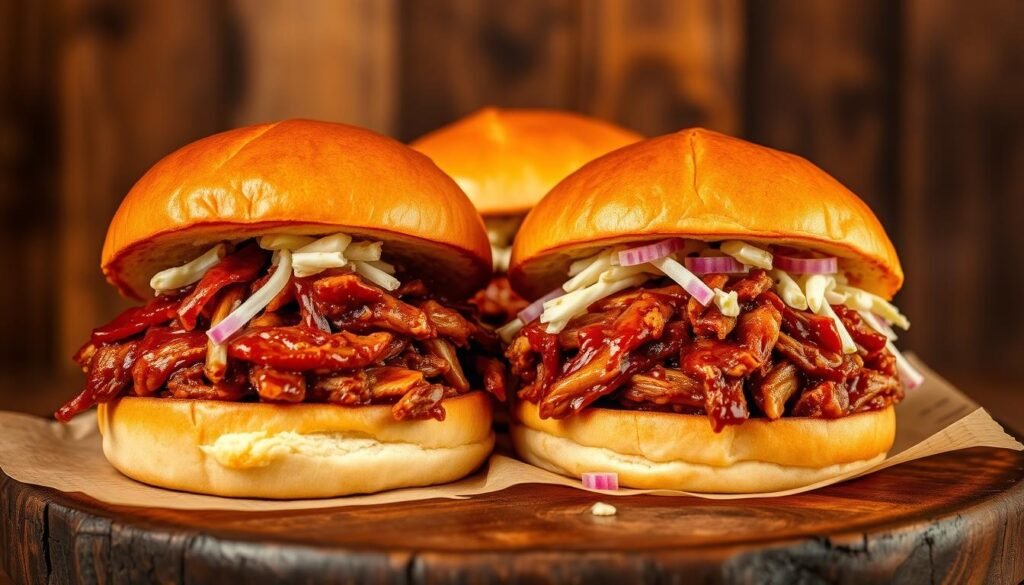
There’s something magical about gathering around the table with friends and family, sharing a meal that brings everyone together. Whether it’s a game day celebration, a casual family dinner, or a weekend get-together, pulled pork sliders are always a crowd-pleaser. These little bites pack a punch of flavor, combining tender meat, a sweet glaze, and soft rolls for the perfect handheld treat.
What makes this dish so special is its versatility. You can use pulled pork as the star ingredient, adding your favorite sauces or toppings to create unique flavor combinations. The recipe is straightforward, making it ideal for both beginners and seasoned cooks. Plus, it’s a great way to use leftovers, turning them into something entirely new and delicious.
In this guide, we’ll walk you through every step, from selecting the best ingredients to assembling the sliders with care. Whether you’re hosting a party or simply craving a comforting meal, these bbq pulled pork sliders are sure to impress. Let’s get started!
Key Takeaways
Perfect for parties, tailgating, or family dinners.
Versatile dish with endless flavor possibilities.
Uses soft Hawaiian rolls for a sweet and savory combo.
Easy to make, even for beginners.
Great way to repurpose leftovers into a new meal.
Introduction to Delicious Sliders
Nothing brings people together quite like a plate of irresistible sliders. These bite-sized wonders are a favorite at parties, family dinners, and casual get-togethers. Their soft, sweet Hawaiian rolls paired with a tender, flavorful filling make them a crowd-pleaser every time.
What makes sliders so special is their versatility. They’re not just a meal; they’re an experience. Whether you’re hosting a game day party or looking for a quick family dinner, sliders fit the bill perfectly. Their small size makes them easy to handle, while their big flavor ensures everyone comes back for seconds.
Sliders have come a long way from their humble beginnings. Originally featuring ham and cheese, they’ve evolved to include a variety of fillings, with tender pork being a standout favorite. The combination of savory meat and a sweet glaze creates a harmony of flavors that’s hard to resist.
One of the best things about sliders is how customizable they are. You can experiment with different toppings, sauces, and even types of rolls to create a unique dish every time. This adaptability makes them a fun and creative option for any occasion.
When it comes to crafting the perfect slider, balance is key. The softness of the roll, the tenderness of the filling, and the richness of the glaze all work together to create a bite that’s both satisfying and memorable. It’s no wonder sliders have become a go-to dish for so many.
Essential Ingredients for Perfect Pork Sliders
Crafting the perfect slider starts with choosing the right components. Each ingredient plays a vital role in creating a harmonious blend of flavors and textures. From the tender meat to the soft buns, every detail matters.
Pulled Pork and BBQ Sauce
The star of any slider is the meat. High-quality pulled pork, slow-cooked to perfection, ensures a melt-in-your-mouth experience. Whether you use plain or pre-sauced pork, the key is tenderness. Pair it with a rich, tangy bbq sauce to add depth and complexity to the flavor.
When selecting a sauce, consider the balance of sweetness, smokiness, and spice. A well-crafted sauce can elevate the dish, making it memorable. Homemade or store-bought, the choice is yours, but quality matters.
Toppings, Buns, and Flavor Enhancers
Toppings are where you can get creative. Crispy bacon, melted cheese, and fresh pickles add layers of texture and taste. Don’t forget the buns—soft, slightly sweet Hawaiian rolls are a popular choice. They complement the savory filling beautifully.
Flavor enhancers like caramelized onions or a drizzle of garlic butter can take your sandwich to the next level. The right combination of ingredients transforms a simple slider into a gourmet treat. Customize to your heart’s content and make it your own.
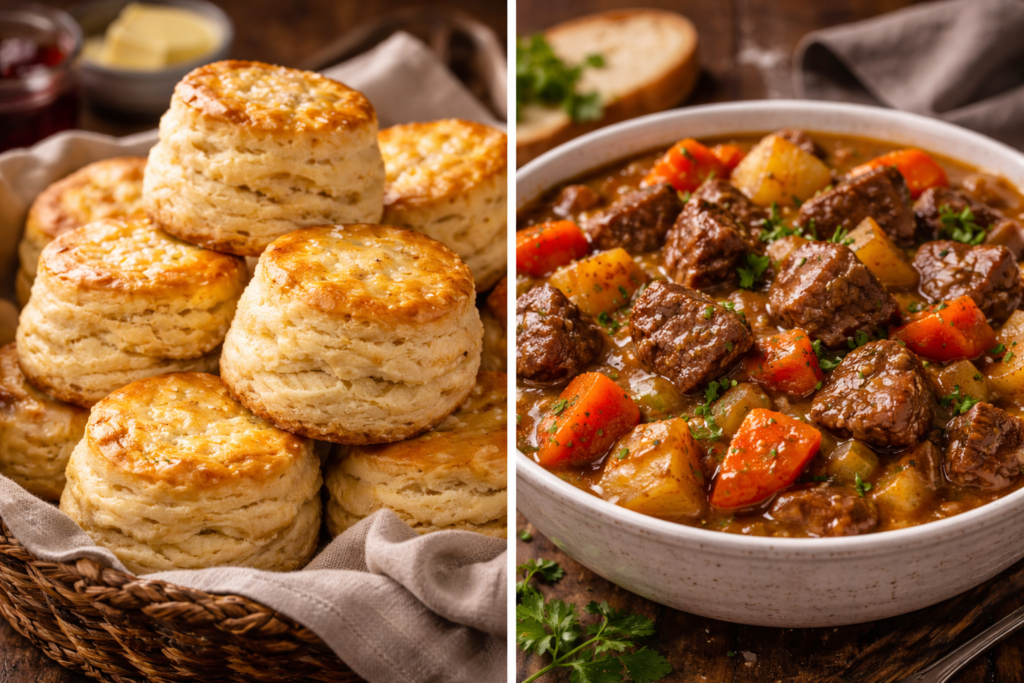
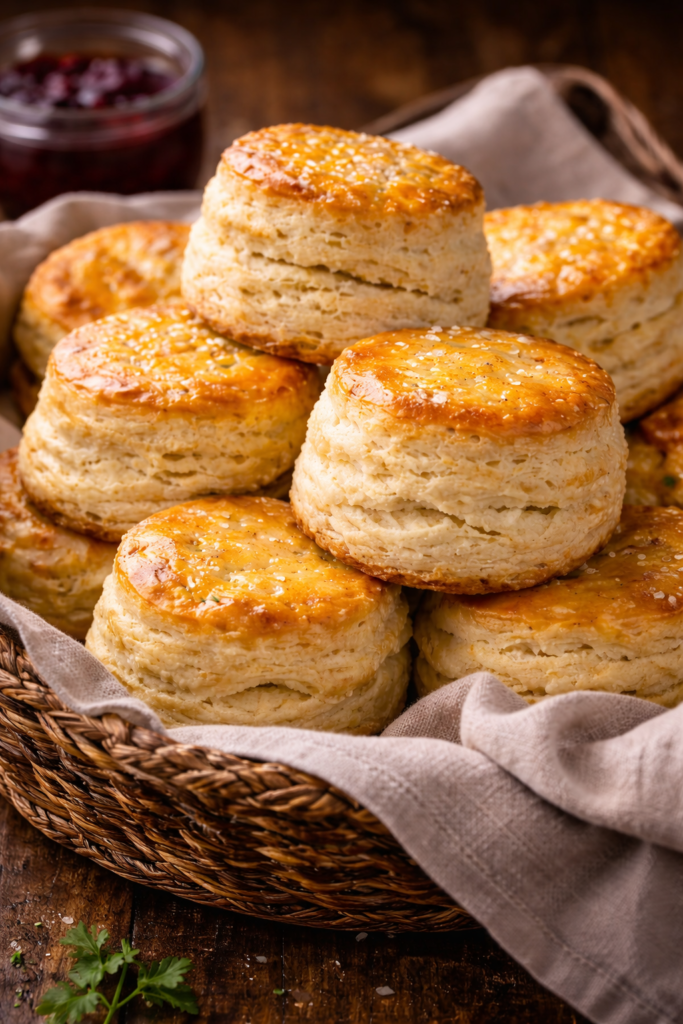
Homemade Hawaiian Rolls & Butter Glaze Techniques
The foundation of any great slider lies in its base—soft, slightly sweet rolls that hold everything together. Whether you’re using store-bought or homemade rolls, the key is to ensure they’re perfectly browned and topped with a rich, buttery glaze. This combination not only enhances the flavor but also adds a touch of elegance to your dish.
Browning the Rolls for Maximum Flavor
To achieve a lightly browned, non-soggy base, preheat your oven to 350°F. Place the rolls on a baking sheet and bake for 10-15 minutes. This step ensures the rolls are warm and slightly crisp on the outside while remaining soft inside. For an extra touch, brush the tops with melted butter before baking to enhance the caramelization process.
If you’re using a convection oven, reduce the cooking time by a few minutes to avoid over-browning. Alternatively, a broiler can be used for the last 2-3 minutes to achieve a golden finish. Keep a close eye during this time to prevent burning.
Secrets of the Perfect Butter Glaze
The butter glaze is what ties everything together. Start with 6 tablespoons of unsalted butter, melted and combined with 2 tablespoons of brown sugar. This creates a sweet, rich glaze that complements the rolls beautifully. For added depth, consider mixing in a teaspoon of honey or a pinch of cinnamon.
Apply the glaze evenly using a pastry brush, ensuring every roll is coated. This not only adds flavor but also gives the rolls a glossy, appetizing appearance. Allow the glaze to set for a few minutes before assembling your sliders.
“A well-crafted glaze can transform simple rolls into a show-stopping component of your dish.”
Experiment with slight tweaks to the glaze to achieve varied flavor profiles. For example, adding a splash of vanilla extract or a dash of nutmeg can create a unique twist that sets your sliders apart.
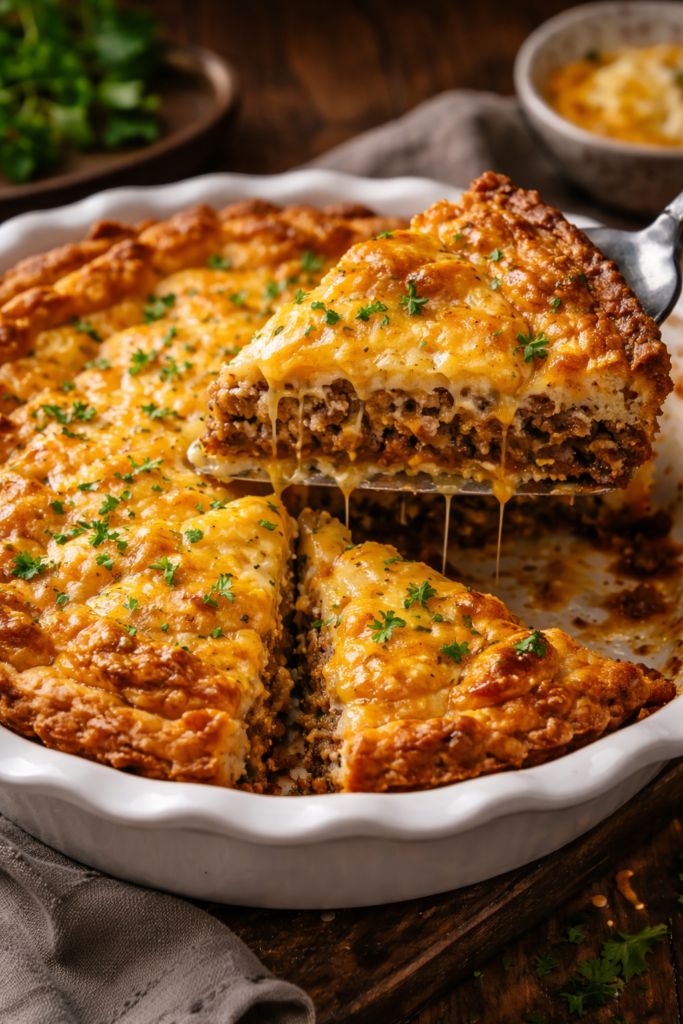
Step-by-Step Guide to Assembling Your Sandwiches
Assembling the perfect sandwich is an art that balances flavors and textures in every bite. Whether you’re using freshly cooked meat or leftover portions, the key lies in thoughtful layering and attention to detail. Follow these steps to create a handheld meal that’s both visually appealing and delicious.
Layering the Meat, Cheese, and Bacon
Start by warming your meat to ensure it’s tender and easy to portion. Use about a cup of meat per sandwich for a generous yet manageable filling. Spread a thin layer of sauce evenly over the base of the roll to add moisture and flavor.
Next, place slices of cheese directly over the meat. This helps the cheese melt slightly, creating a creamy layer. Add crispy bacon strips for a satisfying crunch. Be precise with your placement to ensure every bite includes a mix of ingredients.
For an extra touch of sweetness, sprinkle a pinch of sugar over the meat before adding the toppings. This enhances the natural flavors and adds a subtle caramelized note. Avoid overfilling to maintain a balanced bite.
Tips for Efficient Assembly
Warm the rolls slightly to make them easier to handle.
Use a spoon or ladle to portion the sauce evenly.
Layer ingredients in the order of meat, cheese, and bacon for optimal texture.
Keep an assembly line setup when preparing multiple sandwiches for consistency.
By following these steps, you’ll create a sandwich that’s not only delicious but also a feast for the eyes. Perfect for gatherings or quick meals, this method ensures every bite is a delight.
Mastering the art of creating sliders begins with precise preparation and baking techniques. Every step, from preheating the oven to adding the final glaze, contributes to the perfect bite. Follow these detailed instructions to ensure your dish turns out beautifully.
Preheating and Baking Techniques
Start by preheating your oven to 350°F. This ensures even baking and prevents soggy buns. Line a baking sheet with foil for easy cleanup and place your rolls on it. Slice the buns horizontally without fully separating them to streamline the assembly process.
Next, soften 2 tablespoons of butter and spread it evenly over the top of the rolls. This step adds richness and helps the glaze adhere better. Layer the meat, cheese, and bacon carefully, ensuring each ingredient is distributed evenly.
For the glaze, melt 3 tablespoons of butter and mix it with 2 tablespoons of brown sugar. Brush this mixture over the assembled sliders for a sweet, glossy finish. Bake for 5-10 minutes until the cheese melts and the buns turn golden brown.
Step
Details
Preheat Oven
350°F
Butter Application
2 tablespoons, softened
Baking Time
5-10 minutes
Glaze Ingredients
3 tablespoons butter, 2 tablespoons brown sugar
By following these steps, you’ll create sliders that are both delicious and visually appealing. For more tips on a community-oriented approach to cooking, explore our resources.
Personalizing Your Slider Experience
Making sliders is more than just cooking—it’s a chance to express your creativity and taste. The best part? You can tailor every element to suit your preferences, from the toppings to the glaze. Whether you’re hosting a party or enjoying a quiet meal, personalizing your sliders makes them uniquely yours.
Customizing Toppings and Sauces
Toppings are where the magic happens. Add fresh salad or coleslaw for a crunchy contrast to the warm filling. Crispy bacon, melted cheese, or pickled onions can elevate the flavor profile. For a tangy twist, try drizzling ranch dressing on the bottom buns before assembling.
Don’t be afraid to mix and match. Candied jalapenos or grilled pineapple rings can add a sweet and spicy kick. The key is to balance textures and flavors for a satisfying bite. If you’re preparing ahead, keep toppings separate and add them just before serving to maintain freshness.
Adjusting the Glaze for Unique Twists
The glaze is your secret weapon for adding depth and richness. Start with a base of melted butter and brown sugar, then experiment with additions like honey, cinnamon, or a splash of vanilla. For a spicier version, mix in a pinch of cayenne or chili powder.
“A well-crafted glaze can transform simple sliders into a gourmet experience.”
If you’re baking with foil, remove it during the last few minutes to let the glaze caramelize. This creates a glossy, golden finish that’s as visually appealing as it is delicious. For a quicker option, brush the glaze on after baking for a similar effect.
Personalizing your sliders is all about having fun and experimenting. Whether you prefer a classic combination or something entirely new, the possibilities are endless. For more inspiration, check out our community-driven recipes and discover new ways to make your sliders stand out.
Utilizing Leftover Pulled Pork for Quick Meals
Leftovers don’t have to be boring—transform them into something extraordinary with a little creativity. Whether you’re cooking for a busy weeknight or feeding a hungry family, repurposing leftover meat is a smart and delicious solution. With the right techniques, you can keep your meals fresh, flavorful, and convenient.
Quick Meat Reheating Tips
Reheating leftover meat doesn’t have to mean dry, tough bites. To retain moisture, use a low-heat method like a skillet with a splash of broth or water. Cover the pan to trap steam, ensuring the meat stays tender. Alternatively, microwave in short intervals, stirring between each to distribute heat evenly.
For larger portions, consider using an oven. Preheat to 300°F, wrap the meat in foil, and bake for 10-15 minutes. This method works well for family-sized meals, keeping the meat juicy and ready to serve.
Creative Uses for Leftovers
Leftover meat is incredibly versatile. Use it to create a new sandwich by layering it with fresh toppings like coleslaw or pickles. Add a slice of cheese and toast for a melty, satisfying meal. You can also mix it into pasta, salads, or even breakfast scrambles for a protein boost.
For a fun twist, combine leftover meat with chicken in a mixed dish. This pairing adds variety and stretches your ingredients further. Think tacos, wraps, or even a hearty casserole.
Portioning for Convenience
When storing leftovers, portion the meat into family-sized servings. This makes it easier to grab what you need without defrosting everything. Use airtight containers to maintain freshness and prevent freezer burn. Label with dates to keep track of storage time.
For quick weekday dinners, pre-portion the meat into individual servings. This saves time and ensures you always have a ready-to-go meal option.
Method
Best For
Skillet with Broth
Small portions, quick reheating
Oven (300°F)
Larger portions, family meals
Microwave
Single servings, convenience
Repurposing leftovers is a practical way to reduce waste and create delicious meals. With these tips, you can turn last night’s dinner into today’s culinary masterpiece. Experiment with flavors and enjoy the convenience of quick, satisfying meals for the whole family.
Serving Suggestions & Side Pairings
A great meal is more than just the main dish—it’s about the perfect pairings that complete the experience. The right side dishes can balance flavors, add texture, and make your meal more enjoyable. Whether you’re hosting a party or enjoying a casual dinner, these suggestions will elevate your dining experience.
Refreshing Coleslaw & Salad Options
Light and refreshing options like coleslaw or a fresh salad are ideal for balancing rich flavors. A classic creamy coleslaw, made with shredded cabbage and a tangy dressing, adds a crisp contrast. For a healthier twist, try a tropical mango coleslaw or a broccoli salad with a light vinaigrette.
Salads are also versatile. A simple green salad with a zesty dressing can brighten up the meal. For something heartier, consider a pasta salad or a quinoa salad with seasonal vegetables. These options are perfect for adding a fresh element to your plate.
Hearty Potato and Party Sides
For a more filling side, potato dishes are a crowd-pleaser. A classic potato salad, made with creamy dressing and herbs, is a timeless choice. Alternatively, sweet potato fries or roasted potatoes add a satisfying crunch.
Other party-friendly options include baked beans, macaroni and cheese, or collard greens. These dishes are easy to prepare in large quantities and are always a hit at gatherings. For a unique twist, try oven-fried okra or a fresh fruit salad.
Side Dish
Best For
Classic Coleslaw
Balancing rich flavors
Potato Salad
Hearty, filling option
Baked Beans
Party-friendly choice
Sweet Potato Fries
Crunchy, satisfying side
Pairing your dish with the right side can transform a simple meal into a feast. Experiment with these suggestions to find the perfect combination for your next gathering.
Tips, Tricks, and Time-Saving Techniques
Efficiency in the kitchen can make all the difference when preparing a crowd-pleasing dish. Whether you’re hosting a party or cooking for your family, these expert tips will help you save time without compromising on flavor. From mastering knife techniques to freezing meals for later, we’ve got you covered.
Knife Techniques and Efficient Assembly
Using the right knife can speed up your prep work significantly. A serrated knife is perfect for slicing Hawaiian rolls without crushing them. If you don’t have a long bread knife, a sharp chef’s knife will do the trick. Always cut horizontally to keep the buns intact for easy filling.
For efficient assembly, set up an organized workspace. Lay out all your ingredients in the order you’ll use them. This instruction ensures a smooth process, especially when making multiple sliders. Warm the rolls slightly to make them easier to handle and layer ingredients evenly for consistent flavor in every bite.
Freezing, Reheating, and Batch Cooking Strategies
Freezing assembled sliders is a great way to prepare ahead. Wrap them individually in foil and store in an airtight container. They can last up to 3 months in the freezer. When ready to eat, reheat in the oven at 350°F for 10-15 minutes to maintain their texture.
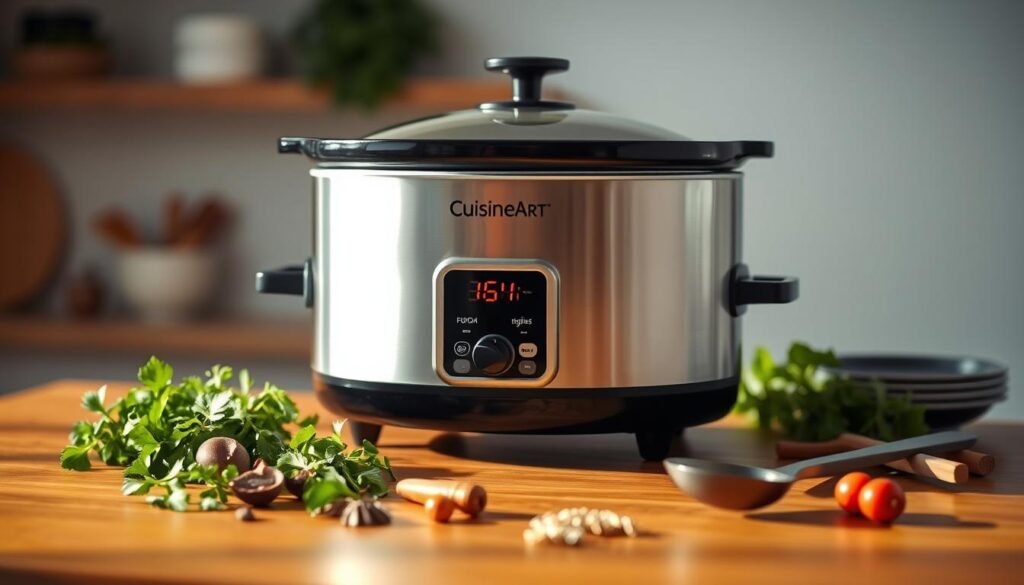
Using a slow cooker is another time-saving tip. It’s perfect for preparing large batches of tender meat with minimal effort. Simply set it and forget it, allowing the flavors to develop while you focus on other tasks.
“A well-organized kitchen and the right tools can transform cooking from a chore into a joy.”
By following these strategies, you’ll not only save time but also ensure your sliders are always a hit. Whether you’re cooking for a crowd or preparing meals for the week, these techniques will make the process smoother and more enjoyable.
Conclusion
These handheld delights are perfect for any day, whether it’s a casual family dinner or a lively party. With their tender filling and soft rolls, they’re a crowd-pleaser that’s easy to customize. Add a sweet glaze or experiment with toppings to make them your own.
Pair them with hearty potato sides or fresh salads for a complete meal. They’re versatile enough to suit any occasion, from game nights to festive gatherings. Don’t be afraid to try new combinations and share your creations with friends and family.
We’d love to hear how you personalize this dish! Whether it’s a twist on the glaze or a unique side pairing, every variation adds something special. Enjoy making these with your loved ones and turn every meal into a memorable experience.
FAQ
What’s the best way to reheat leftover meat for sliders?
Use a skillet on medium heat or microwave with a damp paper towel to keep it moist. Add a splash of sauce for extra flavor.
Can I use store-bought rolls instead of making them from scratch?
Absolutely! Hawaiian rolls or soft buns from the store work great and save time. Just warm them up before assembling.
How can I make the butter glaze sweeter or tangier?
Add a bit of honey or brown sugar for sweetness, or a splash of apple cider vinegar for tanginess. Adjust to your taste!
What are some creative topping ideas for these sandwiches?
Try pickles, jalapeños, or even a slice of avocado. Coleslaw or a drizzle of spicy mayo can also add a fun twist.
Can I prepare these ahead of time for a party?
Yes! Assemble the sliders, wrap them in foil, and refrigerate. Bake them just before serving for a fresh, warm dish.
What sides pair well with these sandwiches?
Classic choices include potato salad, baked beans, or a crisp green salad. They’re perfect for any gathering or family meal.
How do I store leftovers for later?
Keep the meat and buns separate in airtight containers. Reheat the meat and assemble fresh for the best taste.
Can I freeze the assembled sliders?
Yes, wrap them tightly in foil and freeze. Bake them straight from the freezer, adding a few extra minutes to the cooking time.