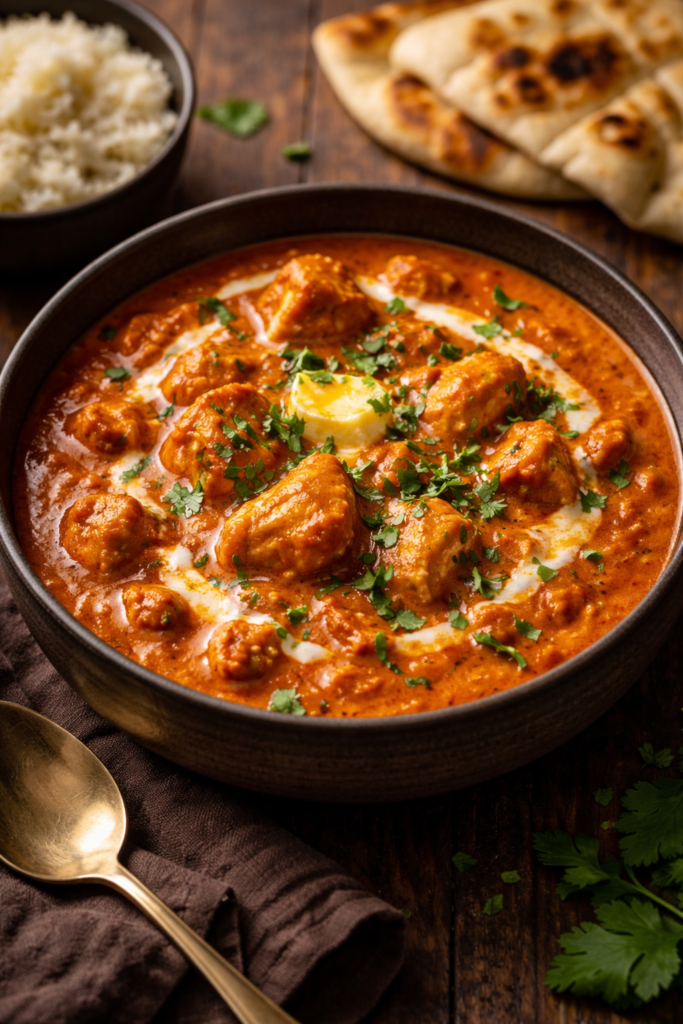
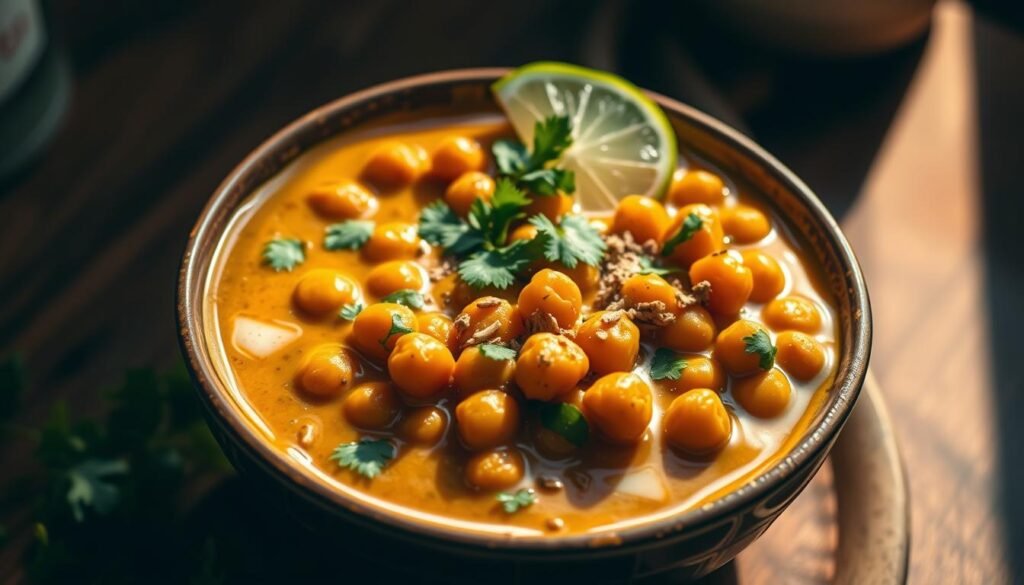
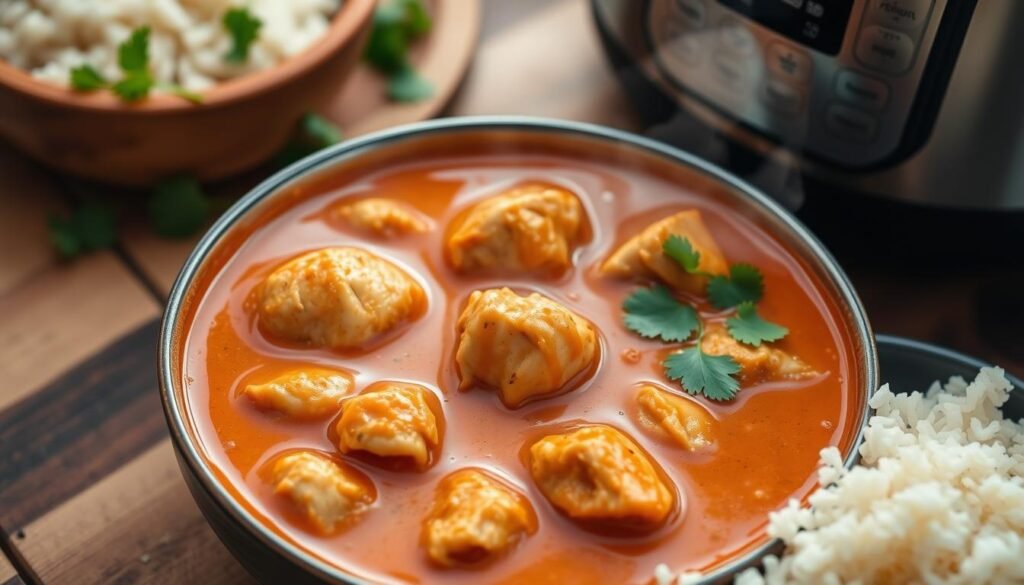
Can you make a tasty, filling meal in under 30 minutes with just pantry items? Yes, you can with this easy vegetarian chickpea curry recipe!
This dish is great for busy weeknights. It’s quick, nutritious, and doesn’t take hours to make. It uses canned chickpeas, coconut milk, and spices for a rich flavor.
Key Takeaways
Total preparation and cooking time: 30 minutes
Serves: 4 people
Calories per serving: 328 kcal
High in protein and fiber
Utilizes pantry staples like canned chickpeas and coconut milk
Perfect for a quick, cozy meal
Recommended garnishes include cilantro and lime juice
Introduction to Vegetarian Chickpea Curry
Explore the world of aromatic spices and hearty legumes with this Healthy Chickpea Curry. It’s a treat for your taste buds and a nutritional powerhouse. Discover why it’s a favorite among vegetarians and those who love flavorful chickpea curries.
What Makes This Curry Special?
This curry is a mix of simplicity, quick prep, and bold flavor. It’s ready in just an hour, making it a home-cooked gem. Coconut milk and chiles create a rich balance, while fresh curry leaves add authentic taste.
Coriander and cumin seeds bring depth, making it a delightful experience. Enjoy a flavorful chickpea curry that’s both tasty and satisfying.
Health Benefits of Chickpeas
Chickpeas are the main attraction, offering many health benefits. They’re packed with 12 grams of protein and 10 grams of dietary fiber. This helps with digestion and keeps you energized.
Each serving has about 360 calories, making it a nutritious choice. It’s also low in sodium, great for heart health. With 33 grams of carbs and over 20 grams of plant protein, it’s both delicious and healthy.
It’s rich in vitamins A and C, calcium, and iron. This makes it a nutritious addition to your diet. Enjoy this Healthy Chickpea Curry and savor the nutritious goodness it brings to your meals.
Essential Ingredients for the Curry
Making a tasty Vegan Chickpea Curry begins with the right ingredients. Knowing what you need ensures your curry is always delicious. Here are the main ingredients and extra flavorings for this recipe.
Main Ingredients List
Start by gathering the core ingredients. These are the key to a great base and flavor:
2 (15 ounce) cans of chickpeas, drained and rinsed
1 (15 ounce) can of crushed tomatoes
1 (13.5 ounce) can of full-fat coconut milk
3 cloves of garlic, minced
1 medium onion, finely chopped
2 tablespoons of coconut oil
1 ½ tablespoons of garam masala
1 tablespoon of curry powder
1 teaspoon of cumin
Additional Flavorings
To make your dish even better, add these extra flavorings:
Fresh cilantro, chopped (for garnish)
Lime wedges (for serving)
Optional: 2 teaspoons of coconut flour to thicken the curry
A pinch of sugar to balance the acidity of the tomatoes
Ingredient
Quantity
Chickpeas
2 (15 ounce) cans
Crushed Tomatoes
1 (15 ounce) can
Coconut Milk
1 (13.5 ounce) can
Garlic
3 cloves
Onion
1 medium
Coconut Oil
2 tablespoons
Garam Masala
1 ½ tablespoons
Curry Powder
1 tablespoon
Cumin
1 teaspoon
Preparing Your Ingredients
Before starting your Homemade Chickpea Curry, it’s key to prepare your ingredients well. This makes sure everything is ready to blend together smoothly. It brings out a rich, unified flavor in your dish.
How to Chop Vegetables
Chopping vegetables right is vital for a great Chickpea Curry. Start by finely chopping one medium white onion. It’s important to have uniform pieces for even cooking.
Next, peel and mince 3 cloves of garlic. This adds a strong, aromatic flavor to your curry. If you have fresh ginger, grate 1 tablespoon or use 1 teaspoon of ground ginger. Both will add warmth and depth to your dish.
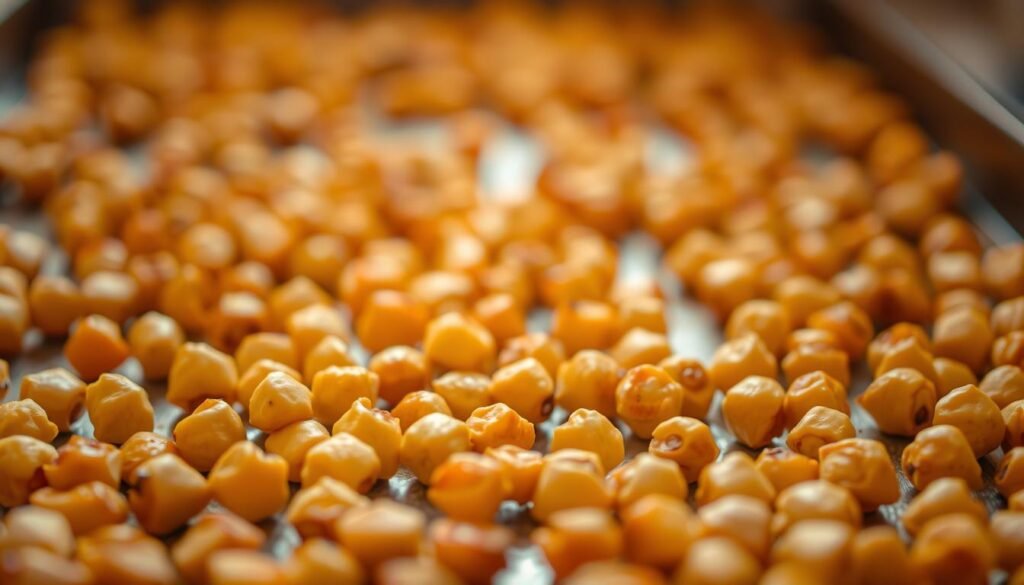
Preparing the Chickpeas
The heart of any Homemade Chickpea Curry is the chickpeas. This recipe uses 2 (15-ounce) cans of chickpeas. Start by rinsing and draining the chickpeas well.
This removes excess sodium and gets them ready to soak up the curry sauce. Whether you use canned or pre-cooked chickpeas, proper preparation is crucial. Canned chickpeas cook in about 15 minutes on low heat after simmering.
If you’re using dried chickpeas, pressure cooking them takes about 17 minutes in an electric pressure cooker. Or, it’s 3 to 5 whistles on a stovetop pressure cooker.
Cooking the Base
Creating a solid base for your Vegan Chickpea Curry is key to great flavors. We start with a fragrant, flavorful mix that makes the whole dish better.
Sautéing Onions and Garlic
First, heat 2 tablespoons of olive oil in a big skillet over medium heat. Add 1 large finely chopped onion and cook until it’s soft and clear, about 5-7 minutes. Then, add 3 minced garlic cloves and cook for another 1-2 minutes until fragrant but not browned. This step is important for bringing out the sweetness and savory smell needed for a good Indian Chickpea Curry.
Adding Tomatoes & Spices
After the onions and garlic are well mixed, add 15-ounce can of crushed tomatoes and 2 tablespoons of mild curry paste. Stir well to mix these into the sautéed mix. The tomatoes add a tangy depth, while the curry paste adds a subtle heat and richness, essential for a traditional Indian Chickpea Curry.
Let this mix simmer gently for 10-15 minutes, stirring now and then. We want to reduce the tomatoes a bit to make their flavor stronger and let the spices blend well. If you like it spicier, add more curry paste or other spices you prefer.
Building Flavor in the Curry
Making a Flavorful Chickpea Curry means adding aromatic spices and rich coconut milk. This makes the dish creamy and full of flavor. The spices and herbs make it both tasty and healthy.
Importance of Spices
Spices are key to the depth and complexity of Flavorful Chickpea Curry. Important spices include:
Garam Masala: Adds warmth and a hint of sweetness.
Turmeric: Offers vibrant color and earthy tones.
Cayenne Pepper: Enhances heat, making the curry more robust.
When cooked right, these spices release their oils and aromas. This creates a blend that’s central to a true curry experience.
Mixing in Coconut Milk
Adding full-fat coconut milk makes your curry creamy. It adds a luxurious texture and balances the spices’ bold flavors. With 13.5 ounces of coconut milk, the sauce is creamy and nutritious.
To get the most out of these elements, start by cooking the spices with onions, garlic, and ginger. Then, blend in the tomatoes and let it simmer. Add the coconut milk last. This way, the spices are fully infused, making a delicious and creamy Chickpea Curry.
Cooking the Chickpeas
Choosing the right chickpeas is key for a great Chickpea Curry. You can use pre-cooked or canned chickpeas. Each has its own benefits for a Healthy Chickpea Curry Recipe. Let’s explore how to use them best.
Incorporating Pre-Cooked Vs. Canned Chickpeas
Pre-cooked chickpeas are great for those who like a homemade feel. They taste and feel better, making your dish richer. But, you need to plan ahead to soak and cook them.
Canned chickpeas are quick and easy, perfect for when you’re in a rush. Just drain and rinse them, and they’re ready for your curry.
How Long to Simmer
After picking your chickpeas, it’s time to simmer them. Simmer the chickpeas for about 10 minutes in your curry. This lets them soak up the flavors from the spices and coconut milk.
Keep the heat low to avoid overcooking. This way, your chickpeas stay tender and delicious.
Here’s a quick comparison of pre-cooked vs. canned chickpeas:
Type
Prep Time
Texture
Convenience
Pre-Cooked Chickpeas
Overnight soak + 1 hour cooking
Better texture
Requires planning
Canned Chickpeas
None (just drain and rinse)
Good but softer
Quick and easy
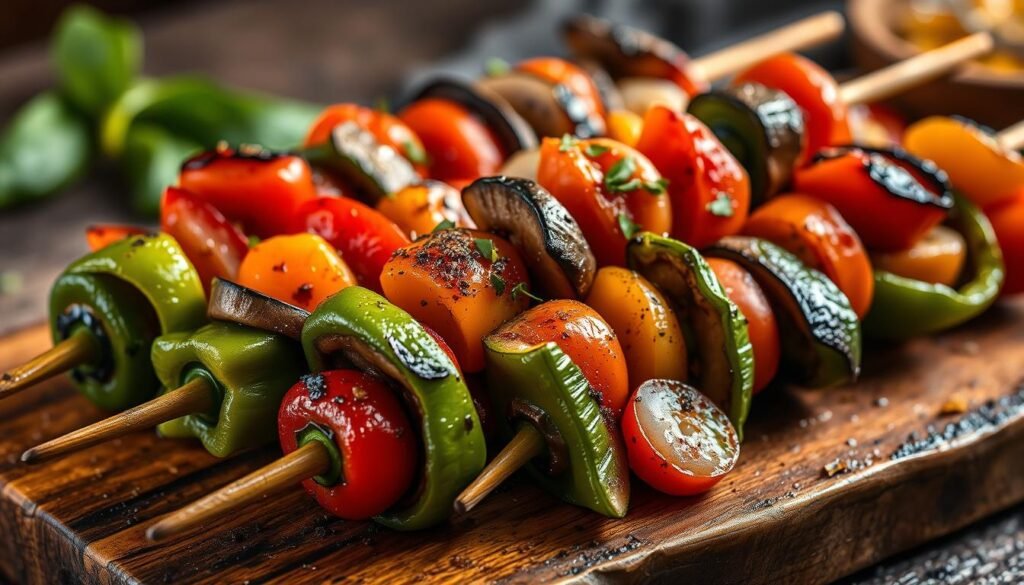
Adding Vegetables
Adding vegetables to curry makes it healthier and tastier. The right mix of veggies can really change a Vegan Chickpea Curry.
Choosing Seasonal Vegetables
Choosing seasonal veggies means you get fresh, tasty ingredients. Spinach, kale, and sweet potatoes are great choices. They add color and nutrients to your curry.
Spinach is full of iron, and sweet potatoes are rich in vitamin A and fiber. These veggies make your curry better in every way.
Broccoli – 1 cup
Butternut squash – 1 cup, cubed
Bell peppers – 3, chopped
Kale – 2 cups, chopped
Tomatoes – 2, diced
Tips for Perfectly Cooked Veggies
Cooking veggies right is all about timing and heat. Start with tough veggies like broccoli and squash. Let them cook while the curry simmers.
For softer greens like kale and spinach, add them later. This keeps them from getting too mushy.
Here are some quick tips:
Cut all vegetables to uniform sizes for even cooking.
Sauté harder vegetables like bell peppers and butternut squash for a few minutes before adding them to the curry.
Incorporate greens like kale and spinach in the last 5-10 minutes of cooking to retain their color and texture.
By following these tips, your Vegan Chickpea Curry will be even better. It will be full of flavor and nutrients, making it a great meal.
Serving Suggestions
After making your tasty Chickpea Curry Meal, picking the right sides is key for a full meal.
What to Pair with Chickpea Curry
For a great match, try pairing chickpea curry with different sides. Basmati or jasmine rice complements the curry’s rich taste. Naan bread is also great for dipping into the curry. For a healthier choice, quinoa or cauliflower rice work well too.
These options help soak up the curry’s flavors and add a nice contrast.
Recommended Garnishes
To make your chickpea curry meal even better, add some fresh garnishes. Fresh cilantro adds a burst of flavor and color. A slice of lime brings a refreshing zest that boosts the curry’s taste. For a spicy kick, sprinkle some chili flakes on top.
Garnish
Flavor/Benefit
Fresh Cilantro
Enhances freshness and adds color
Sliced Lime
Adds zesty flavor and balance
Chili Flakes
Increases spiciness
Toasted Cashews
Adds a crunchy texture and nutty flavor
Mint Leaves
Provides a cooling effect and additional greenery
These small but thoughtful touches can turn your chickpea curry into a memorable meal. It’s all about the mix of flavors and textures.
Storing Leftovers
Easy Chickpea Curry Leftovers are perfect for busy days. To keep the flavors great, you need to store them right. Here’s how to store chickpea curry efficiently.
Best Practices for Refrigeration
Keeping chickpea curry fresh in the fridge is important. Cool it down and put it in airtight containers. It stays fresh for 4-5 days, keeping its taste amazing.
This is great for Easy Chickpea Curry Leftovers. It means you can have a tasty meal ready to go during the week.
Freezing Chickpea Curry
Freezing is a good choice for keeping it longer. Cool the curry first. Then, put it in freezer-safe containers.
Freezing chickpea curry keeps it tasty for up to 3 months. Don’t forget to label the containers with the date.
“Freeze your Easy Chickpea Curry Leftovers in individual portions to make future meal prep a breeze.”
Reheating:Thaw the frozen curry in the fridge overnight. Warm it up on the stove or in the microwave. Stir often until it’s hot. This way, your leftover chickpea curry will taste just as good as when it was first made.
Variations of the Recipe
This delicious recipe can be tailored to suit your needs. We explore how to make a Gluten-Free Chickpea Curry and a fiery Spicy Chickpea Curry.
Gluten-Free Alternatives
To prepare a Gluten-Free Chickpea Curry, make sure all spices and pastes are gluten-free. Many curry powders and spice mixes may contain gluten. Fresh ingredients and homemade spice mixes are best for a gluten-free meal. Here are some tips:
Use gluten-free soy sauce or tamari instead of regular soy sauce.
Ensure your canned chickpeas are 100% gluten-free.
Avoid any pre-made sauces unless they are clearly labeled gluten-free.
Spicy Edition
For those who enjoy a bit more heat, adding extra spices can make a Spicy Chickpea Curry. Here are some suggestions:
Add an extra ¼ to ½ teaspoon of cayenne pepper for medium heat.
Toss in fresh chili peppers during the cooking process. Adjust the quantity according to your heat preference.
Incorporate hot paprika in place of regular paprika to add another layer of spiciness.
Making these adjustments can transform your dish into a fiery delight. This recipe’s versatility allows you to create a dish that fits your taste and dietary needs.
Conclusion
Homemade Chickpea Curry is more than a simple vegetarian dish. It’s a celebration of flavors and nutrients. It’s a symphony of taste.
This recipe is rich in chickpeas. Chickpeas are loved worldwide for their versatility and health benefits. It’s a great way to explore vegetarian cooking.
Final Thoughts on Homemade Curry
This Homemade Chickpea Curry is packed with health benefits and flavor. It’s high in fiber, protein, and nutrients like iron and magnesium. It’s as nutritious as it is tasty.
It’s easy to make and quick to prepare. This makes it perfect for weeknight dinners or meal prep.
Encouragement to Experiment with Flavors
Don’t be afraid to try new things with Homemade Chickpea Curry. Experiment with different curry flavors to find what you like. You can adjust the spices, add different vegetables, or herbs to make it your own.
Whether you like it mild with coconut milk or bold with extra spices, it’s up to you. Cooking is an art, and your kitchen is your canvas. So, get creative and see what you can make.
FAQ
What makes this vegetarian chickpea curry special?
This curry is special because it’s easy to make and tastes amazing. It can be ready in under 20 minutes. You only need basic ingredients like canned chickpeas and coconut milk.
What are the health benefits of chickpeas?
Chickpeas are full of protein and fiber. They help with digestion and give you energy. They also keep your heart healthy and help with weight control.
What are the essential ingredients for this chickpea curry?
You’ll need olive oil, onions, garlic, curry paste, tomatoes, coconut milk, chickpeas, and lime juice. Cilantro and sugar add extra flavor.
How should I prepare the vegetables for this curry?
Chop the onions and garlic finely. This lets their flavors come out. Rinse and drain the chickpeas so they soak up the curry’s taste.
What steps are involved in cooking the base of the curry?
Start by cooking the onions and garlic in olive oil until they’re soft. Then add tomatoes and curry paste to start the flavor base.
Why are spices important in this curry recipe?
Spices like garam masala, turmeric, and cayenne pepper give the curry its authentic taste. They add depth and warmth.
How does coconut milk affect the curry?
Coconut milk makes the curry creamy and luxurious. It also helps the spices blend better.
Should I use pre-cooked or canned chickpeas?
Both pre-cooked and canned chickpeas work well. Canned chickpeas are quicker and easier for a fast curry.
How long should I simmer the curry?
Simmer the chickpeas for about 10 minutes. This lets the flavors mix well.
What vegetables can I add to this curry?
Add spinach, kale, or sweet potatoes for extra nutrients and flavor. Add them when they’re almost done cooking.
What are some serving suggestions for chickpea curry?
Serve with basmati rice or naan bread. Garnish with cilantro, lime, and chili flakes for extra flavor.
How should I store leftovers?
Store leftovers in airtight containers for up to 4-5 days. Freeze for longer storage. Cool the curry first before freezing.
Are there gluten-free alternatives for this chickpea curry?
Use gluten-free spices and pastes to make this dish safe for those with gluten intolerance.
How can I make a spicier edition of this curry?
Add more cayenne pepper or fresh chili peppers for heat. A sprinkle of chili flakes on top also adds a kick.