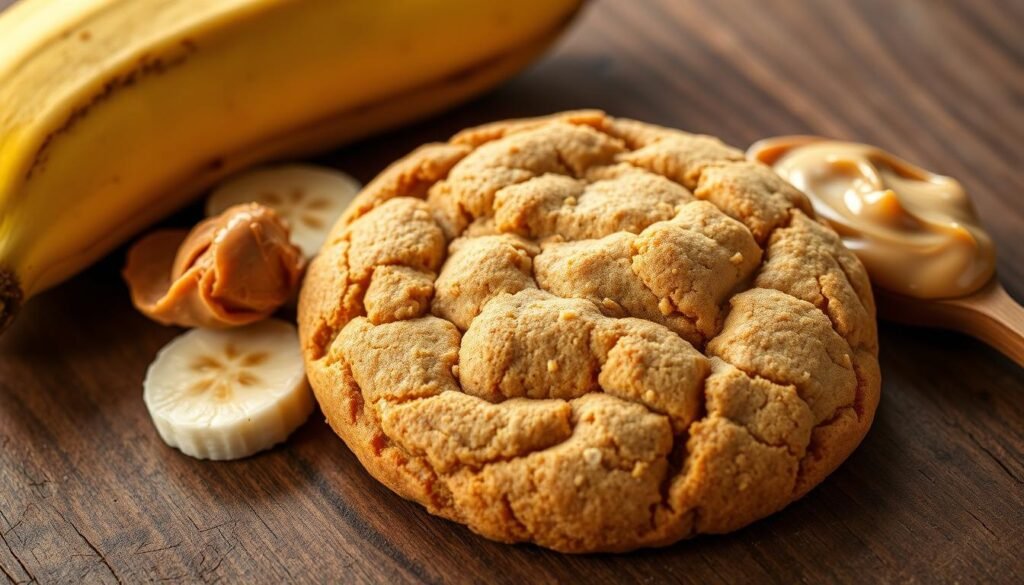
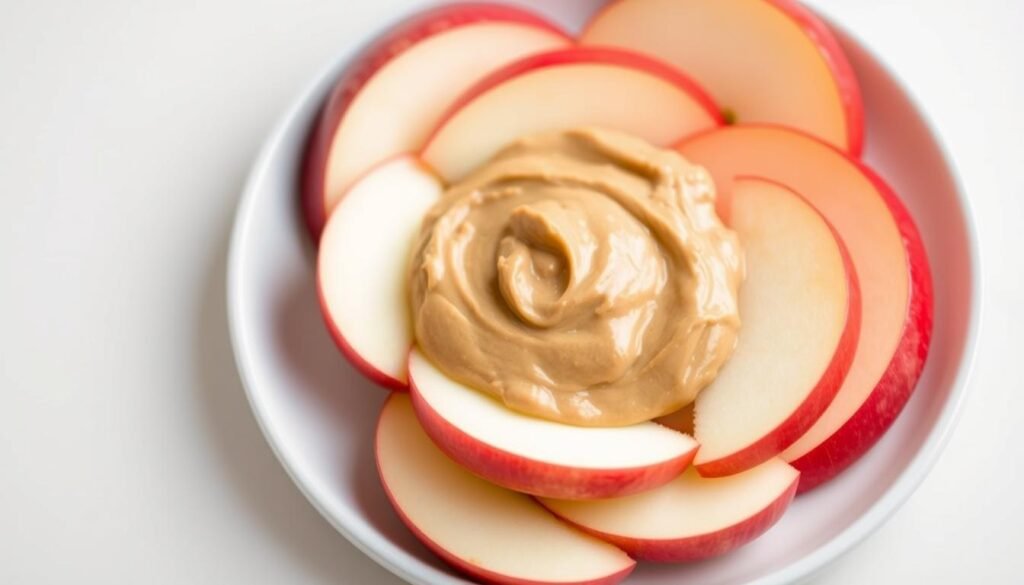
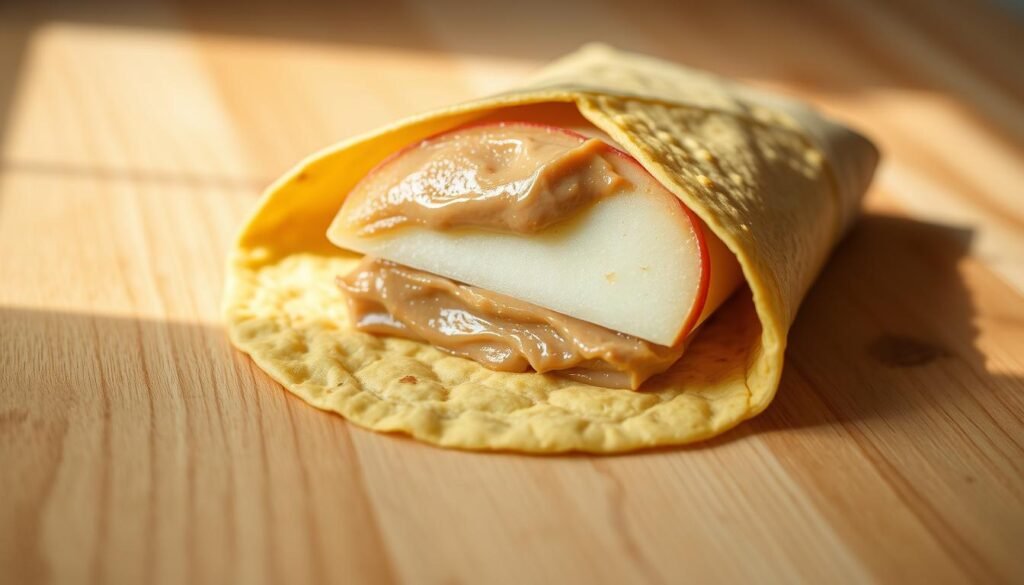
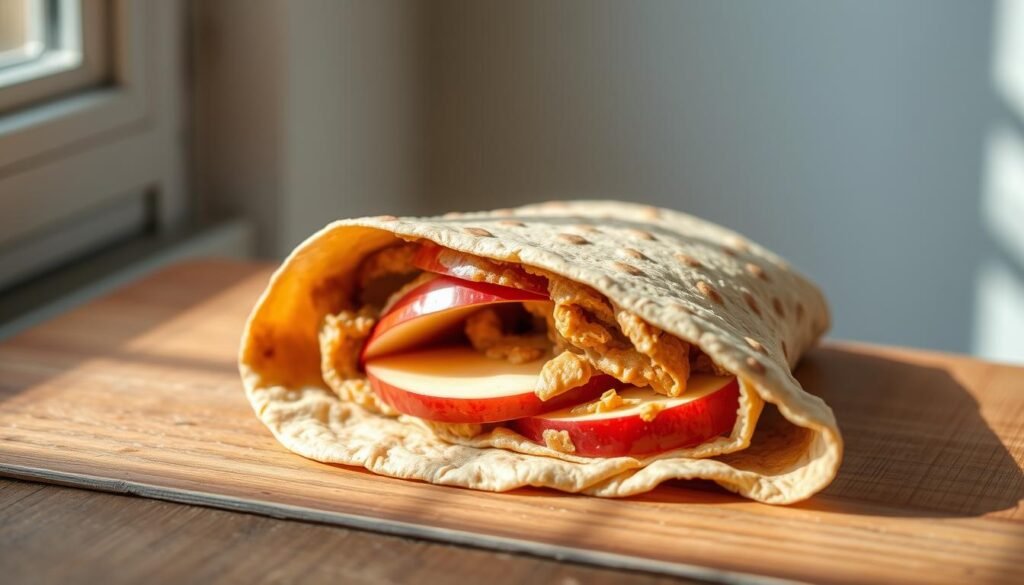
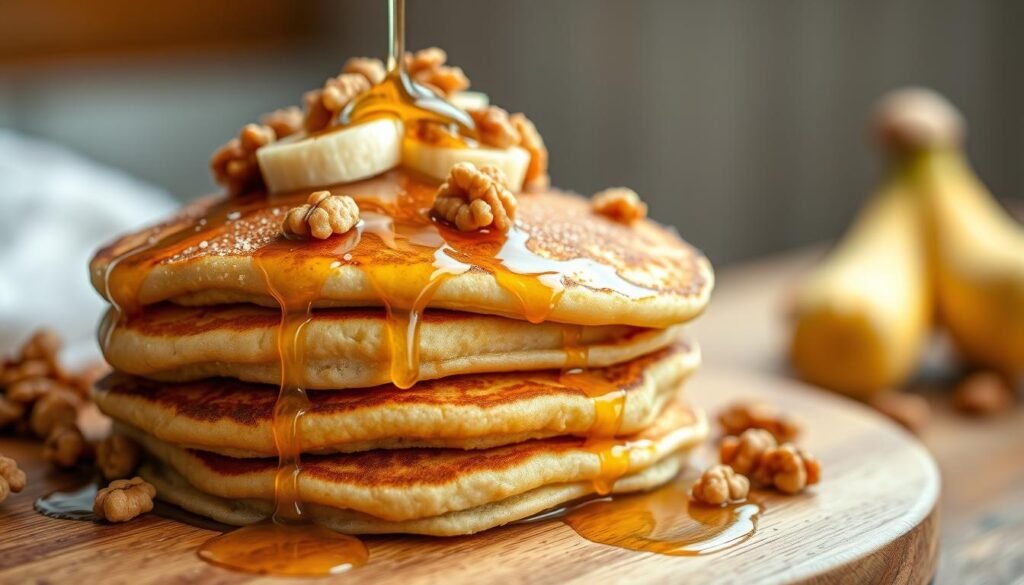
Have you ever wondered how to transform a simple breakfast into a delightful treat? Look no further! This Easy Apple & Peanut Butter Wrap offers a fresh twist on traditional breakfast favorites, combining the natural sweetness of apples with the creamy richness of peanut butter.
This innovative recipe is perfect for both kids and adults, serving as a crowd-pleasing breakfast option. With a quick prep time of just 10 minutes and a cook time of 10 minutes, it’s ideal for busy mornings. You can choose from pan-frying, air frying, or baking, making it versatile for any preference.
Each batch yields 18 sticks, perfect for sharing or storing for later. The blend of sweet and savory flavors creates a balanced taste that everyone will enjoy. Whether you’re rushing to get the kids to school or looking for a quick meal, this recipe is both simple and delicious.
Key Takeaways
A unique combination of apple and peanut butter offers a fresh twist on traditional breakfast.
Quick prep and cook times make it ideal for busy mornings.
Versatile cooking methods: pan-frying, air frying, or baking.
Yields 18 sticks, perfect for sharing or storing.
Balanced mix of sweet and savory flavors for a delicious treat.
Introduction to a Crowd-Pleasing Breakfast Treat
In the hustle and bustle of busy mornings, a delicious and nutritious breakfast can be a challenge. This is where our crowd-pleasing breakfast treat comes into play, offering a solution that’s both quick and satisfying.
The Story Behind This Treat
The inspiration for this recipe stemmed from the desire for a fast, yet hearty breakfast alternative. Busy families often struggle to find a meal that’s both nutritious and exciting. The creation of this treat involved combining simple, high-quality ingredients like bread, eggs, and sugar to create a delicious custard perfect for dipping.
Why Everyone Loves It
This treat has become a favorite for both kids and adults. The familiar flavors and fun presentation make it a hit with children, while adults appreciate the balanced mix of sweet and savory. Eggs, being a great source of brain-boosting choline, add a nutritious touch to this tasty meal.
What truly sets this treat apart is its quick preparation time. Often ready in just a few minutes, it’s ideal for busy families who need a reliable and delicious start to their day.
Essential Ingredients and Kitchen Tools
Creating a delicious breakfast treat starts with the right ingredients and tools. Let’s explore what you’ll need to make this tasty dish a success.
Ingredient List & Measurements
2 large eggs for a creamy custard base
½ cup powdered sugar to balance sweetness
¼ cup milk for a smooth mixture
2 tablespoons maple syrup for extra flavor
Day-old bread is best to avoid sogginess. The egg mixture combines eggs, milk, and sugar for a sweet and creamy base. Maple syrup adds a rich flavor, while powdered sugar ensures the right sweetness level.
Must-Have Tools and Equipment
Nonstick skillet for even cooking
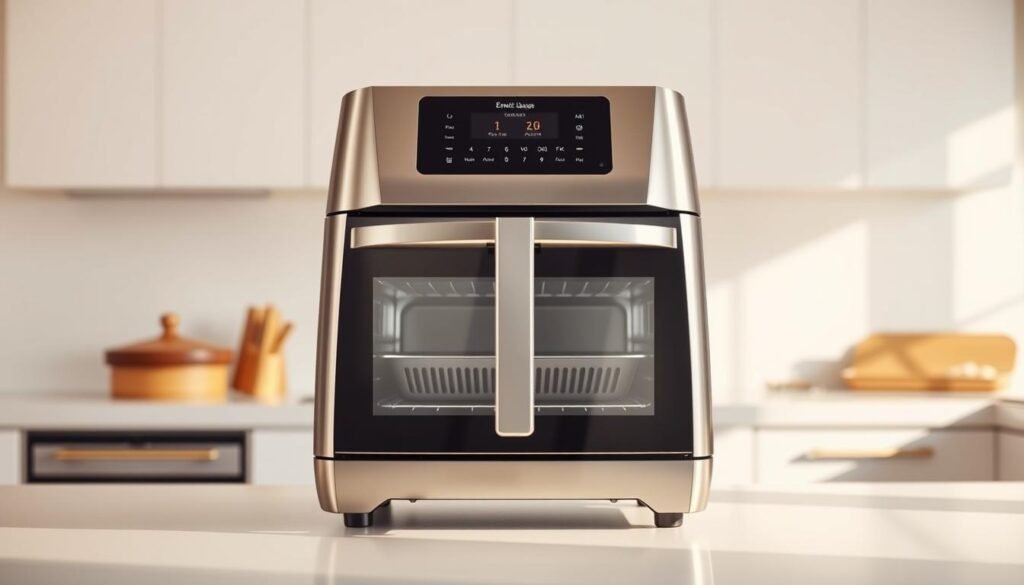
Air fryer for a healthier option
Oven for baking
These tools help achieve the perfect texture. A 13×9-inch dish is ideal for soaking bread slices. Nonstick spray prevents sticking, ensuring your treats cook evenly. An air fryer offers a crispy texture without extra oil, while the oven provides a traditional baking option.
Accurate measurements are key. Using the right cup sizes ensures the mixture is balanced. Experiment with substitutes like almond milk or honey for a personalized touch. With these tools and ingredients, you’re ready to create a tasty breakfast treat!
How to Prepare the Egg Mixture and Batter
Creating a smooth and creamy egg mixture is the foundation of a delicious breakfast treat. This section will guide you through the process of making the perfect batter for your French toast sticks.
Mixing Techniques for a Smooth Custard
To achieve a smooth custard, start by whisking together 2 large eggs, ½ cup powdered sugar, and ¼ cup milk in a large bowl. Add a pinch of cinnamon for extra flavor. The key is to ensure all ingredients are well incorporated without any lumps.
Beat the eggs and sugar until fluffy to incorporate air and ensure sweetness is evenly distributed.
Gradually add the milk, whisking continuously to maintain a smooth texture.
Add a pinch of cinnamon and mix well to combine.
Ingredient
Measurement
Purpose
Eggs
2 large
Provides richness and structure
Powdered Sugar
½ cup
Balances sweetness
Milk
¼ cup
Ensures a creamy texture
Once the mixture is ready, it’s time to coat your bread slices. Dip each slice into the batter, ensuring both sides are evenly coated. This step is crucial for achieving that golden-brown crust when cooking.
The consistency of the custard directly impacts the final texture of your French toast sticks. A well-blended mixture ensures each stick will be tender on the inside and crispy on the outside. By following these simple steps, you’ll be on your way to creating a delicious breakfast treat that everyone will love!
Perfect French Toast Sticks Recipe Technique
Discover the secret to crafting irresistible breakfast treats with three versatile cooking methods. Whether you prefer the classic pan-fry, the healthier air fry, or the extra crispy bake, each technique offers a unique texture to delight your taste buds.
Pan-Frying vs. Air Frying Methods
For a golden, buttery crust, pan-frying is the traditional choice. Heat a nonstick skillet over medium heat, add a teaspoon of butter, and cook the dipped Texas toast slices for 2-3 minutes per side. This method yields a soft interior and a rich, caramelized exterior.
Air frying offers a healthier alternative with less fat. Preheat the air fryer to 375°F (190°C), cook for 5-6 minutes, and achieve a crispy texture without extra oil. Both methods require monitoring to prevent overcooking.
Baking Option for Extra Crispiness
Baking provides a distinct crunch. Preheat your oven to 400°F (200°C), place the sticks on a parchment-lined baking sheet, and bake for 8-10 minutes. Flip halfway for even cooking. This method is ideal for a lighter texture and is perfect for serving to a crowd.
Each technique brings its own charm. Pan-frying adds a buttery flavor, air frying reduces fat, and baking offers crispiness. Choose based on your preference and equipment for a delicious breakfast treat every time!
Tips for Achieving the Ideal Texture and Flavor
Achieving the perfect texture and flavor in your breakfast treat requires attention to detail and a few expert tips. Whether you’re aiming for a crispy exterior or a fluffy interior, these insights will guide you to success.
Dipping and Coating Best Practices
The key to a perfect treat lies in how you handle the bread. Dip each slice into the egg mixture for about 3-5 seconds on each side. This ensures the bread absorbs enough flavor without becoming soggy. Immediately after cooking, coat the treat in a mixture of cinnamon and sugar. This step is crucial for locking in flavor and texture.
Dip bread slices for 3-5 seconds per side for optimal absorption.
Coat in cinnamon sugar immediately after cooking for flavor adhesion.
Timing and Temperature Guidelines
Temperature control is vital. Cook on medium heat to prevent burning. For pan-frying, cook each side for 2-3 minutes until golden brown. Air frying at 375°F for 5-6 minutes yields a crispy texture, while baking at 400°F for 8-10 minutes offers a lighter crunch. Use leftover vanilla or maple syrup as a side drizzle for extra flavor.
Method
Temperature
Time
Result
Pan-Frying
Medium Heat
2-3 minutes per side
Golden Brown
Air Frying
375°F
5-6 minutes
Crispy
Baking
400°F
8-10 minutes
Light Crunch
Creative Variations and Serving Suggestions
Take your breakfast treat to the next level with these creative ideas! Whether you’re experimenting with different breads or adding fresh berries, there’s a way to make this dish truly special.
Alternative Bread Choices
Try using brioche or sourdough for a richer flavor. These breads, especially when slightly stale, hold up beautifully to the cinnamon sugar mixture. For an extra crispy texture, consider freezing the bread slices before dipping them in the egg mixture.
Perfect Syrup and Berry Pairings
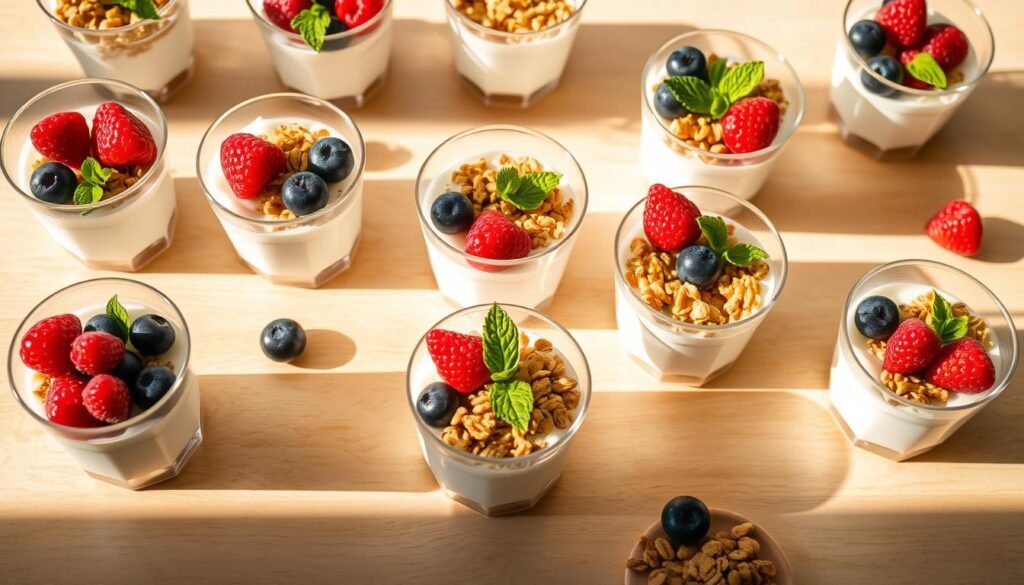
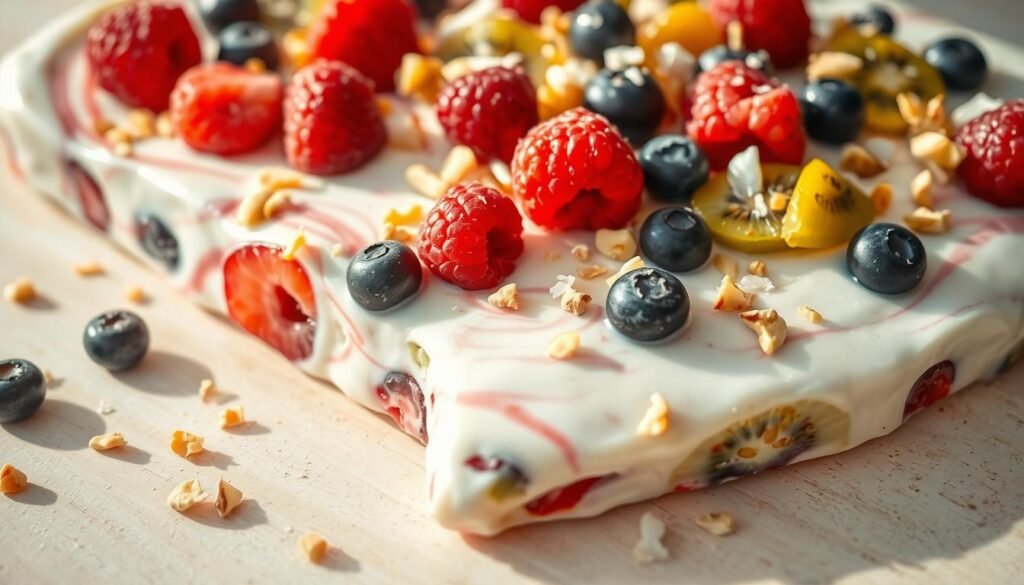
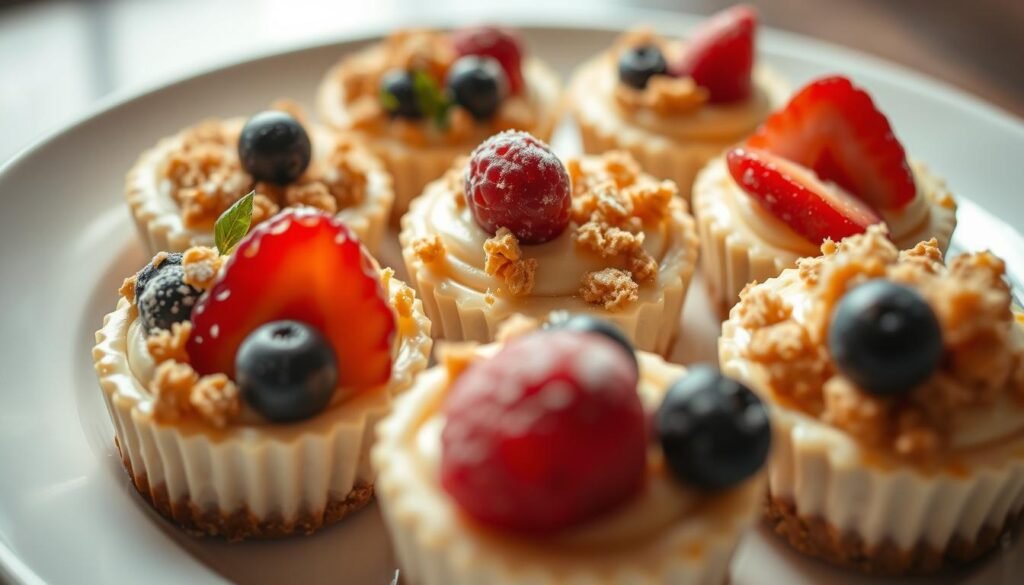
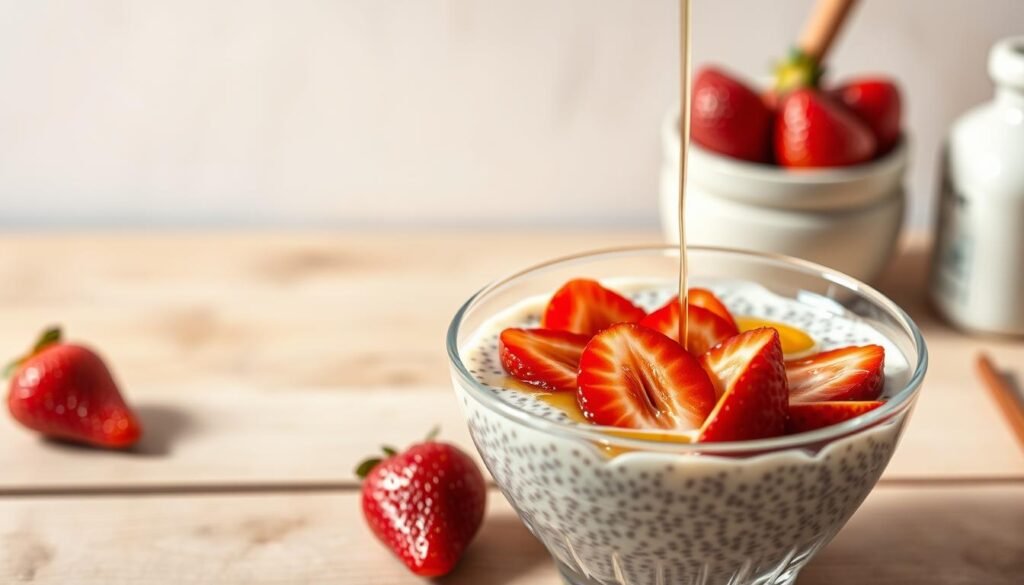
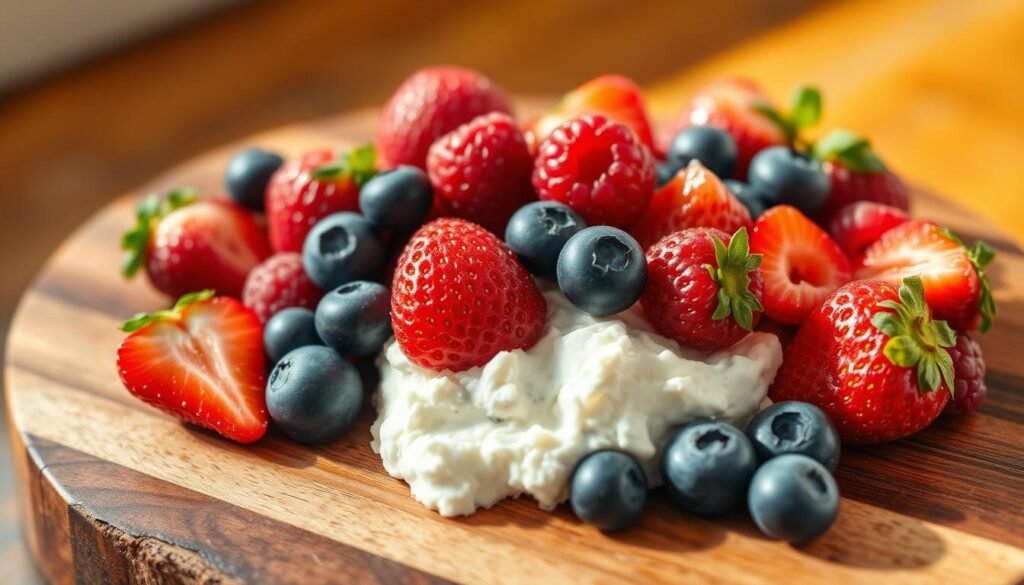
Enhance the sweetness by drizzling with maple syrup or agave nectar. Fresh berries like strawberries or blueberries add a delightful burst of flavor. For the best results, coat the treats in cinnamon sugar immediately after cooking to lock in that perfect flavor.
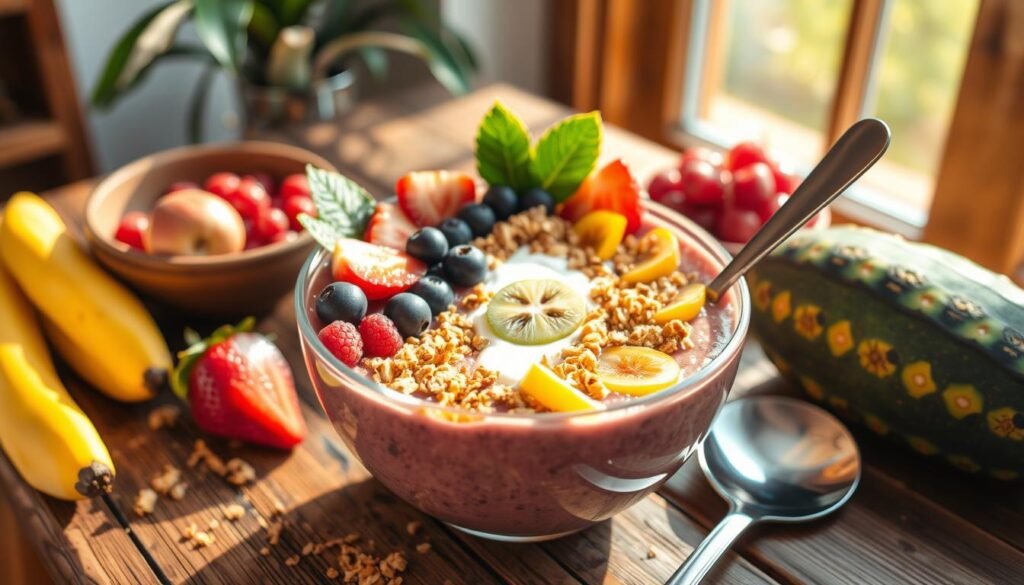
For a fun presentation, arrange the treats on a platter for a brunch spread or serve them in a mason jar for a quick snack. Encourage everyone to share their own twists by incorporating seasonal ingredients. The possibilities are endless!
Storing and Reheating for Busy Mornings
Busy mornings just got easier with these simple storage and reheating tips for your favorite breakfast treat. Properly storing and reheating ensures your golden brown pieces remain crispy and delicious.
Freezing and Reheating Instructions
Once your treats have cooled, wrap them in waxed paper and place them in a freezer bag. This method maintains their quality for up to 2 months. For reheating, the microwave offers quick results, while the oven provides a more golden brown finish.
Reheating in the Microwave: Place 2-3 pieces on a microwave-safe plate, cover with a paper towel, and heat for 20-30 seconds.
Oven Reheating: Preheat to 350°F, arrange pieces on a parchment-lined skillet, and bake for 5-7 minutes until crispy.
For even reheating, separate each piece to ensure uniform warming. This prevents sogginess and maintains crispiness. Preparing extra batches saves time and offers a quick, nutritious option for hectic mornings.
Always handle reheated food safely and reheat to an internal temperature of at least 165°F. This ensures food safety while preserving the original crispiness of your golden brown treats. With these tips, enjoy a delicious breakfast even on the busiest days!
Conclusion
With its blend of simplicity and versatility, this breakfast treat is a perfect solution for busy mornings. Whether you choose to pan-fry, bake in the oven, or use an air fryer, each method ensures a delicious outcome. The key to success lies in using high-quality ingredients and mastering the sugar mixture for that perfect balance of flavors.
The recipe’s ease of preparation and adaptable cooking techniques make it a crowd-pleaser. From slicing bread to achieving the ideal texture, every step is designed for simplicity. This treat is more than just a meal—it’s a quick, satisfying solution for families on the go.
We’d love to hear how you make this recipe your own! Share your favorite variations and experiences on social media. Don’t hesitate to experiment—this stick recipe is a versatile canvas waiting for your personal touch. Enjoy creating and savoring this delightful breakfast treat with your loved ones!
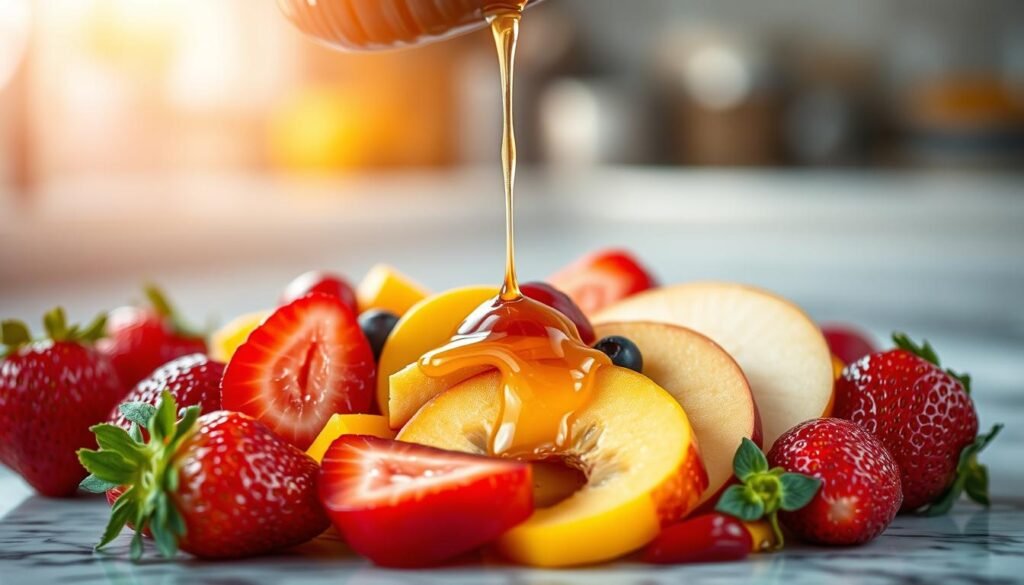
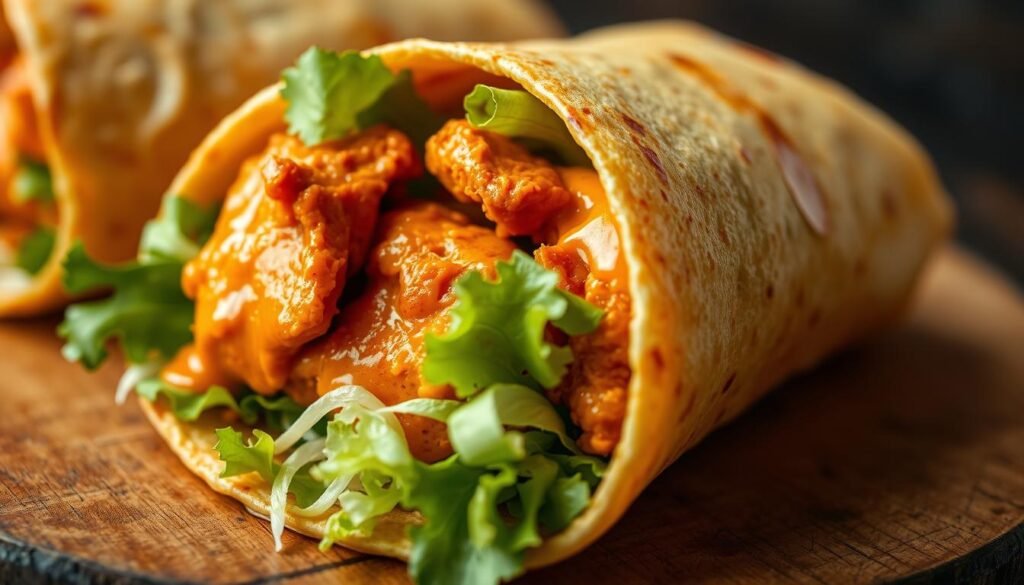
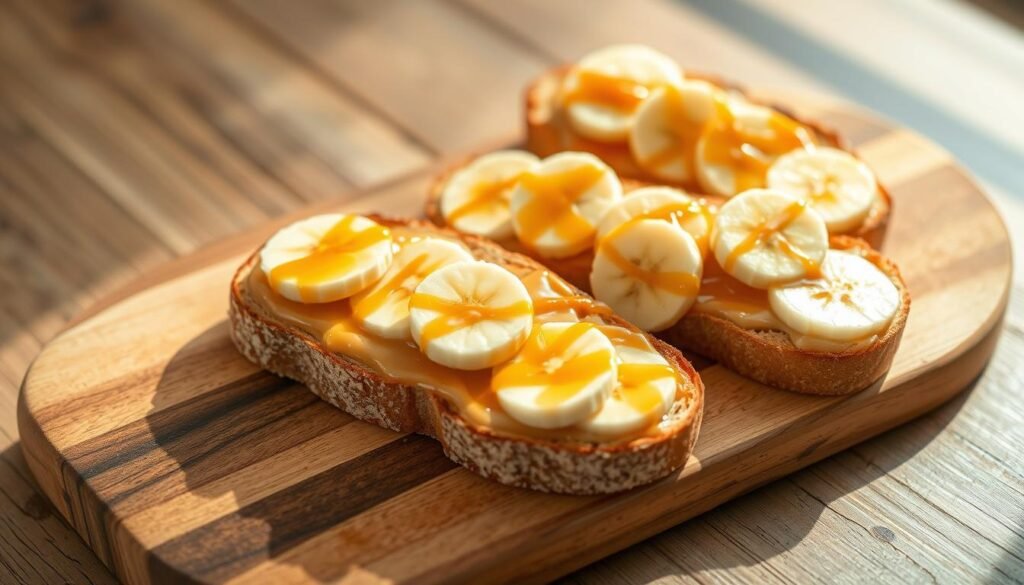
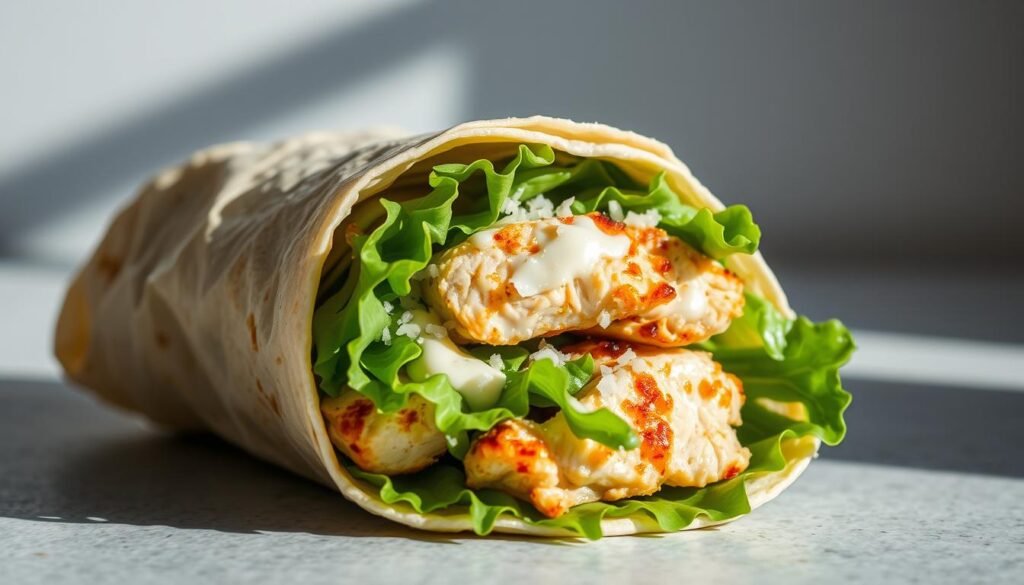
Easy Apple & Peanut Butter Wrap Recipe
Ingredients:
1 large whole wheat tortilla
1 medium apple (sliced thinly)
2 tbsp peanut butter
1 tbsp honey (optional)
½ tsp cinnamon
1 tbsp granola (for crunch, optional)
Step-by-Step Cooking Guide:
Lay whole wheat tortilla flat on a clean surface.
Spread peanut butter evenly across the tortilla, leaving about ½ inch from the edges.
Arrange apple slices in a single layer over the peanut butter.
Drizzle honey over the apple slices if using.
Sprinkle cinnamon and granola over the top for extra texture.
Carefully roll the tortilla tightly, tucking in the edges as you go.
Slice in half or into bite-sized pinwheels, then serve immediately.
FAQ
What’s the best type of bread to use for French toast sticks?
Texas toast or thick slices of bread work best because they hold up nicely to the egg mixture and yield a golden-brown result. Avoid thin slices, as they may become too delicate.
Can I bake the toast sticks instead of frying them?
Absolutely! Preheat your oven to 400°F (200°C). Dip the bread slices in the egg mixture, coat them in cinnamon sugar, and bake for about 15-20 minutes, flipping halfway. They’ll come out crispy and delicious!
How do I store leftover toast sticks?
Let them cool completely on a paper-lined plate to avoid sogginess. Store them in an airtight container in the freezer for up to 3 days. Reheat in the oven or pan until warm and crispy.
What’s the secret to getting that perfect golden-brown color?
It’s all about the cinnamon sugar mixture! Toss the cooked sticks in a mix of sugar and cinnamon while they’re still warm. This ensures the coating sticks and gives that irresistible golden hue.
Can I make the egg mixture ahead of time?
Yes, you can prepare the egg mixture up to a day in advance. Store it in the fridge overnight and give it a quick stir before using it. Add a dash of vanilla for extra flavor just before cooking.
What if I don’t have maple syrup for serving?
No worries! You can serve them with fresh berries, a drizzle of honey, or even a sprinkle of powdered sugar. The cinnamon sugar coating is also delicious on its own.
How do I prevent the sticks from sticking to the pan?
Use a non-stick skillet or pan and ensure it’s properly heated before adding the sticks. A small amount of butter or cooking spray will also help prevent sticking and add flavor.
Can I customize the recipe with other ingredients?
Absolutely! Try adding a pinch of nutmeg or a splash of almond extract to the egg mixture. For extra crunch, roll the sticks in crushed nuts or shredded coconut after coating them in the cinnamon sugar mixture.