Crispy Roasted Chickpeas Recipe | Snack Time Favorite
Recipe Allstar / 1 year
February 26, 2025
0
10 min read
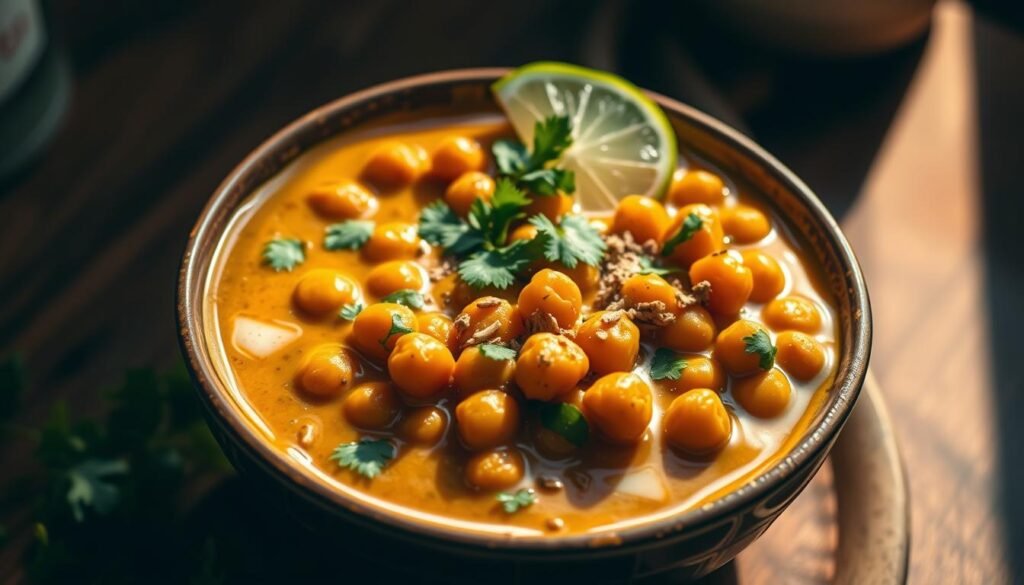
Ever wondered why roasted chickpeas are a hit with health fans? They’re crunchy and can taste like anything you want. This easy recipe is full of good stuff for you. It’s great as a chip substitute or on salads and sandwiches.
This recipe uses simple stuff like chickpeas, olive oil, and salt. It makes sure your chickpeas are dry for that crisp feel. Ready in 25 minutes, they’re a healthy way to get your crunch on.
Key Takeaways
Prep Time: 5 minutes
Cook Time: 20 minutes
Total Time: 25 minutes
Servings: 4 people
Calories per serving: 192 kcal
Carbohydrates per serving: 29g
Protein per serving: 9g
Cooking temperature: 400ºF in the oven
Recommended storage duration: Consume within 3 days for the best texture
Why Roasted Chickpeas Are the Perfect Snack
Roasted chickpeas have become a hit in the snack world. They are easy to make, delicious, and full of good stuff. They’re a great pick for anyone wanting a healthy snack.
Nutritional Benefits of Chickpeas
Chickpeas are a nutritional powerhouse. A cup of roasted chickpeas has almost 15 grams of protein. This makes them a top choice for a protein-rich snack.
They also have about 12 grams of fiber, which is almost half of what we need daily. This fiber helps control blood sugar and cholesterol. It also keeps you full and gives you energy all day.
Chickpeas are full of vitamins and minerals like iron, magnesium, and B-vitamins. They’re known as a “longevity superfood.” They’re great for snacks for both adults and kids.
Versatility in Flavor Options
Roasted chickpeas are versatile. They take on many flavors, from simple to complex. You can try salt and pepper or shawarma spice. Even sweet flavors like cinnamon and sugar work well.
This means you can try many flavors without getting tired of them. Want something savory like taco seasoning or sweet like maple black pepper? Roasted chickpeas can satisfy any craving. They’re a key snack for a healthy diet.
Looking for a nutritious and tasty snack? Homemade roasted chickpeas are a flavorful and healthy choice. You can make them to fit any taste you like.
Preparing the Chickpeas
Getting your chickpeas ready is a key step for perfect oven baked chickpeas. Whether you pick canned or dried chickpeas, how you prepare them affects the taste and texture.
Choosing the Right Chickpeas
Choosing high-quality chickpeas is crucial for crispy and tasty spicy roasted chickpeas. Use reduced sodium canned chickpeas for better flavor. A 15-ounce can gives about 1 ½ cups of cooked chickpeas, great for one serving. If you use dried chickpeas, make sure to cook them right to rehydrate them properly.
Soaking and Cooking Dried Chickpeas
Begin by soaking dried chickpeas in water overnight. Make sure they’re fully covered. The next day, drain and rinse them before boiling in fresh water. Cook for 1 to 1 ½ hours until they’re tender. Then, drain them well to remove excess water.
Draining and Rinsing Canned Chickpeas
Using canned chickpeas is simpler but still important. Pour the chickpeas into a colander and rinse them under cold water to get rid of canning liquid. After rinsing, drain them well and dry them on a clean towel or paper towels. Dry chickpeas are essential for crispiness.
Remember, moisture is the enemy for crispy oven baked chickpeas. Whether canned or dried, make sure they’re dry before seasoning and roasting. This step helps in better flavor absorption and a crunchy texture for every chickpea.
Seasoning Your Chickpeas
To make your chickpeas a tasty snack, seasoning is crucial. Start by roasting them without oil to begin the crisping. Then, lightly coat with olive oil and your favorite spices. Make sure to spread the seasoning evenly so every bite is flavorful.
Basic Seasoning Mix
For a simple yet tasty seasoning, start with 1 tablespoon of olive oil for each 15-ounce can of chickpeas. Add ½ teaspoon each of cumin and paprika. Toss well to coat evenly before baking.
Creative Flavor Combinations
Don’t stick to just basic seasonings. Try these exciting mixes to spice up your seasoned chickpeas:
Indian Twist: ½ teaspoon each of curry powder and turmeric
Middle Eastern Flair: ½ teaspoon each of zaatar and sumac
Spicy Blend: ½ teaspoon each of chili powder and garlic powder
Mexican Fusion: 2 teaspoons of cumin to 1 teaspoon of chili powder
Cinnamon Sweet: 1 tablespoon of sugar to 1 teaspoon of cinnamon
BBQ Delight: A mix of maple syrup, smoked paprika, chili powder, garlic powder, salt, and pepper
Ranch Kick: Just 1 tablespoon of nutritional yeast
Tips for Even Coating
Getting your chickpeas evenly seasoned is easier than you think. Here are some tips:
Dry Thoroughly: Make sure the chickpeas are dry to avoid steaming.
Add Oil Gradually: Use just 1 tablespoon of oil to prevent sogginess.
Toss Consistently: Regularly toss the chickpeas during roasting for uniform roasting.
Multiple Coats: Consider seasoning halfway through roasting for intense flavor.
Seasoning your chickpeas right makes them crispy and perfect for snacking. With a bit of creativity and these tips, you can enjoy many tasty seasoned chickpeas.
The Roasting Process
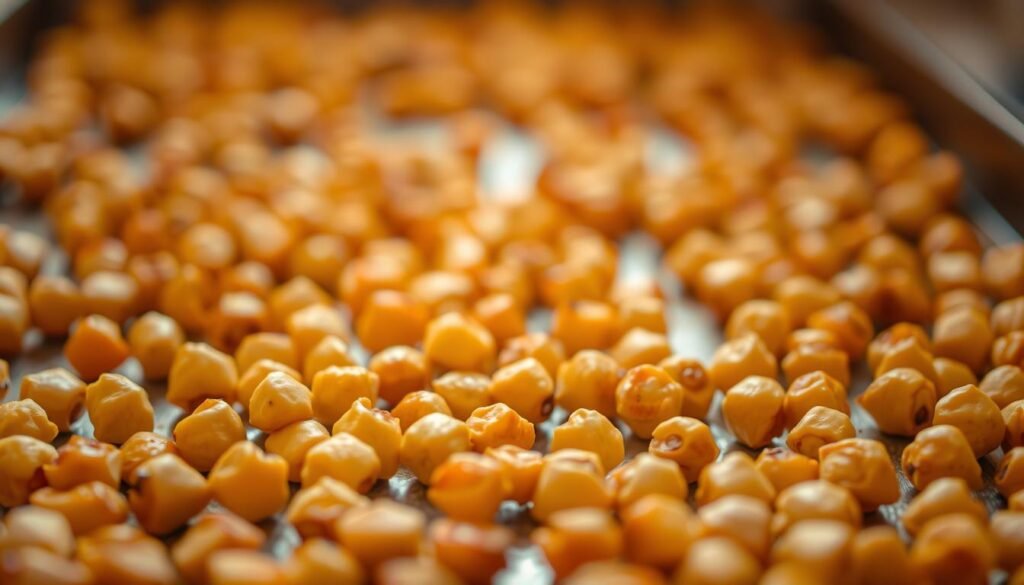
To make crunchy roasted chickpeas, follow a simple process. First, preheat your oven. Then, arrange the chickpeas on a baking sheet. Lastly, roast them carefully to get the perfect crunch.
Preheating the Oven
Start by heating your oven. For crunchy chickpeas, use 400°F for convection or 425°F for regular ovens. This ensures they roast evenly and get crispy.
Arranging Chickpeas on the Baking Sheet
Spread the chickpeas in a single layer on a baking sheet. Use two 15-ounce cans of chickpeas. Toss them with 1 tablespoon of olive oil to coat each chickpea lightly.
Timing and Temperature for Perfect Crunch
Timing is key for crunchy chickpeas. Roast them for 10 minutes first. This dries them out for better crunch.
After 10 minutes, toss the chickpeas with a seasoning mix. Return them to the oven for 12 more minutes. Keep an eye on them to avoid burning.
Shake the baking sheet now and then for even roasting. Aim for a crunchy outside and soft inside. The right roasting time is crucial for this.
Step
Details
Oven Temperature
400°F (convection) or 425°F (conventional)
Initial Roasting Time
10 minutes
Seasoning Roasting Time
12 minutes
Total Peeling Time
Approximately 10 minutes
Checking Intervals
After 10 minutes, periodically shake to ensure even roasting
By following these steps, you’ll make crunchy roasted chickpeas every time. They taste great and are good for you too.
Storing and Serving Roasted Chickpeas
After making your easy roasted chickpeas, it’s key to keep them crispy and tasty. Good storage and serving ideas will make this snack a hit at any time.
Best Practices for Storage
Roasted chickpeas are best eaten the same day. Here’s how to keep them crunchy:
Put them in an airtight container at room temperature to stay crispy.
Don’t refrigerate them as it makes them chewy.
Use glass containers with tight lids to keep them fresh for a day.
For a couple of days, cover them with a paper towel at room temperature.
For the best taste, store them in a container that keeps air out.
Delicious Pairing Ideas
Roasted chickpeas are great on their own or in many dishes. Here are some ideas:
Salad Topping: Sprinkle them on salads for a crunchy touch.
Soup Garnish: Top soups with roasted chickpeas for extra flavor and texture.
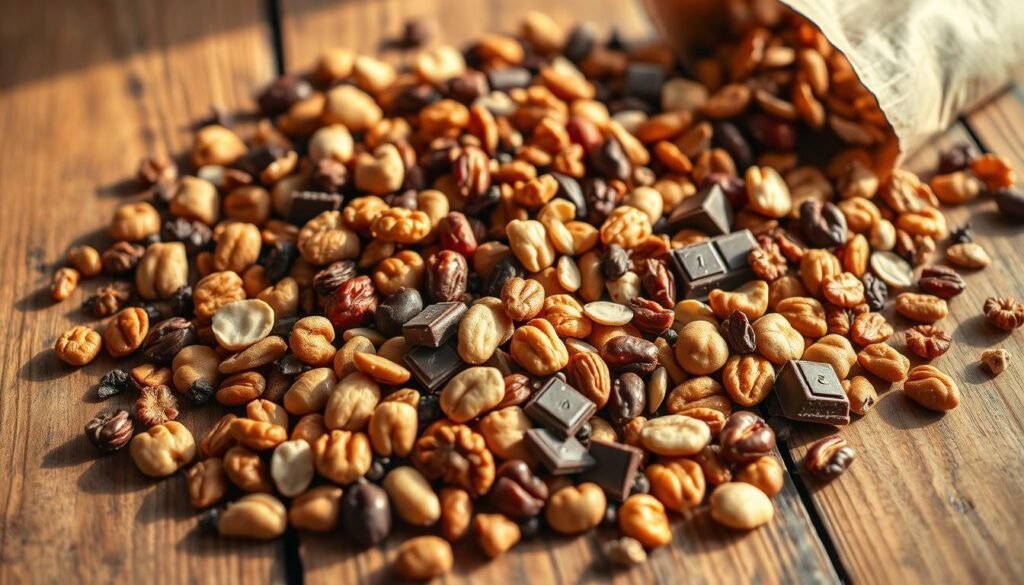
Trail Mix Addition: Mix them with nuts and dried fruits for a healthy trail mix.
Serving Suggestions for Gatherings
Roasted chickpeas are perfect for any event. Here are some fun ways to serve them:
Party Snack: Serve in small bowls as a healthy, easy-to-eat snack.
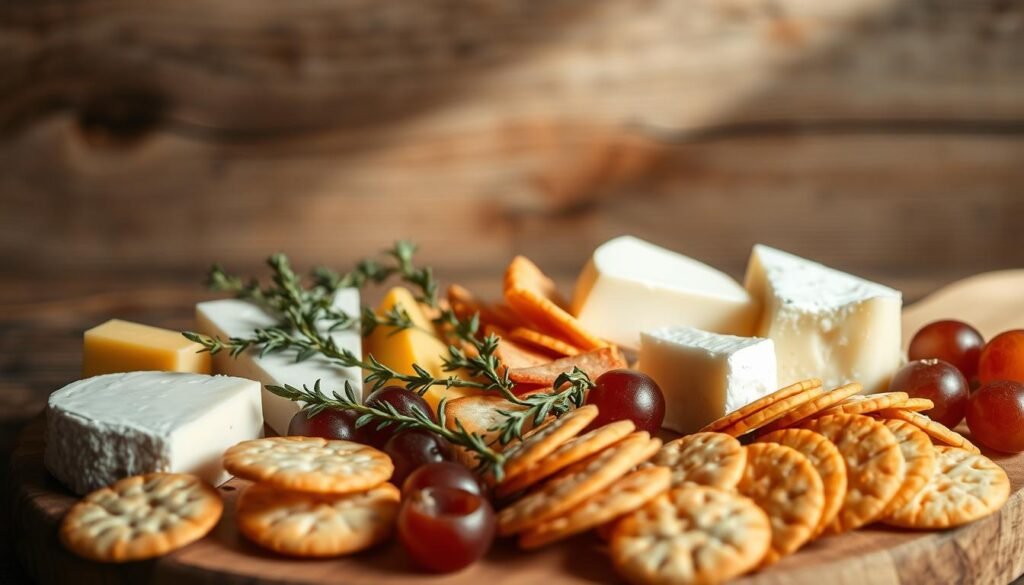
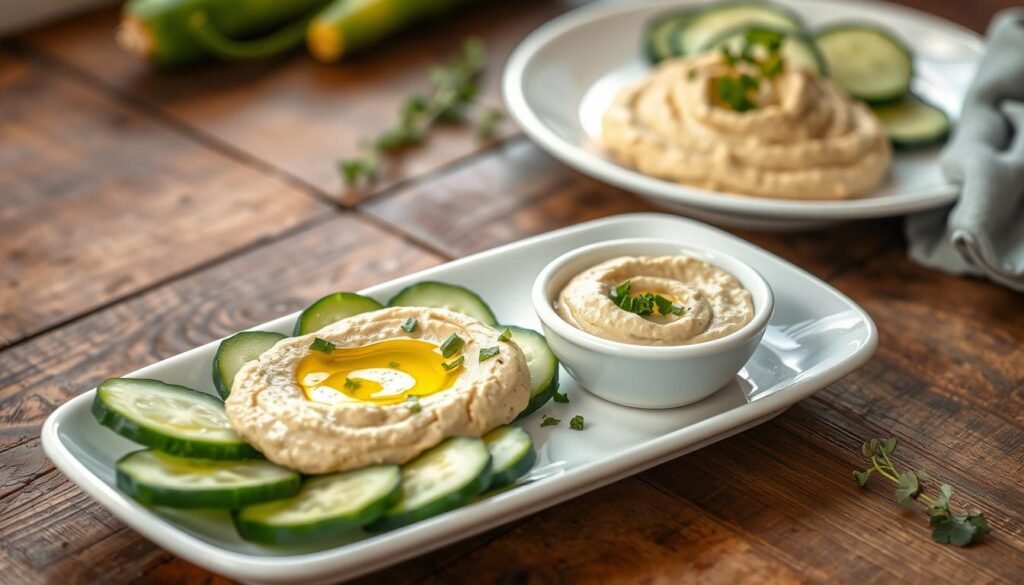
Appetizer Platter: Pair them with hummus, cheese, and olives for a tasty platter.
Potluck Dish: Take them to potlucks for a unique and tasty dish.
By following these tips, your roasted chickpeas will stay a tasty and versatile snack for everyone.
Troubleshooting Common Issues
Even with a simple chickpea recipe like homemade roasted chickpeas, you might encounter a few hiccups along the way. This section addresses the most common issues and offers practical solutions to ensure your snack turns out perfectly every time.
Why Chickpeas Aren't Crispy
One common issue is achieving the perfect crunch. If your chickpeas aren’t crispy, there are a few potential reasons. Firstly, ensure that you are using the recommended amount of oil, approximately 1/2 teaspoon per can of chickpeas—too much oil leads to sogginess.
Also, the baking temperature (400ºF) and initial baking time (40 to 50 minutes) should be strictly followed, with periodic stirring to ensure even cooking. Lastly, don’t skip the cooling time; letting the chickpeas sit in the oven for 10 to 20 minutes post-baking helps in attaining that desired crispiness.
Adjusting Seasoning to Taste
Flavor is key with homemade roasted chickpeas, and getting the right balance can enhance your snack immensely. This recipe calls for a total of 6 different spices and seasonings, including popular options like cayenne and paprika.
If the spices aren’t evenly coating your chickpeas, ensure you are mixing well after drizzling with 2 tablespoons of olive oil. For a touch of sweetness, adjust the sugar content between 1 to 2 teaspoons based on your preference. Remember, experimenting with different spice mixes can lead to a delightful variety of flavors, so don’t hesitate to get creative.
Restoring Texture After Storage
Stored chickpeas might lose their crunch over time, but there are ways to restore their texture. For best results, consume your roasted chickpeas within two days. If they’ve softened, a quick rebake can help.
Simply spread them out on a large baking sheet and bake at 425 degrees Fahrenheit for an additional 10 minutes. To avoid this issue, store them in an airtight container in a cool, dry place, and ensure they are fully cooled before sealing to maintain their crispiness. By following these steps, you’ll keep your homemade roasted chickpeas crunchy and delicious.
FAQ
What are the essential ingredients for making roasted chickpeas?
You need cooked chickpeas, extra virgin olive oil, and salt. You can also add spices and herbs for extra taste.
What are the health benefits of consuming roasted chickpeas?
Roasted chickpeas are full of fiber and protein. They help lower blood sugar and cholesterol. They also give you long-lasting energy, making them a great snack.
How do I ensure the roasted chickpeas are crispy?
Dry the chickpeas well after rinsing. Any leftover moisture can make them soft.
Can I use dried chickpeas instead of canned ones?
Yes, you can use dried chickpeas. Just soak and cook them first. Then, dry them well before roasting.
How do I properly season roasted chickpeas?
Roast the chickpeas without oil first. Then, lightly coat them with olive oil and your favorite spices. This ensures even flavor.
What is the optimal roasting temperature for chickpeas?
Heat your oven to 400°F (200°C). Place the chickpeas in a single layer on a baking sheet. This helps them roast evenly and stay crunchy.
How should I store roasted chickpeas to maintain their crispiness?
Keep roasted chickpeas in an airtight container at room temperature. This keeps them crunchy for up to a week.
What are some creative ways to serve roasted chickpeas?
You can toss them into salads or use them as a crunchy topping for soups. They’re also great as a healthy snack at parties.
How can I troubleshoot common issues with making roasted chickpeas?
If they’re not crispy, try baking them again for a few minutes. For more flavor, add more seasoning. To keep them crunchy, avoid moisture and re-crisp them before serving.