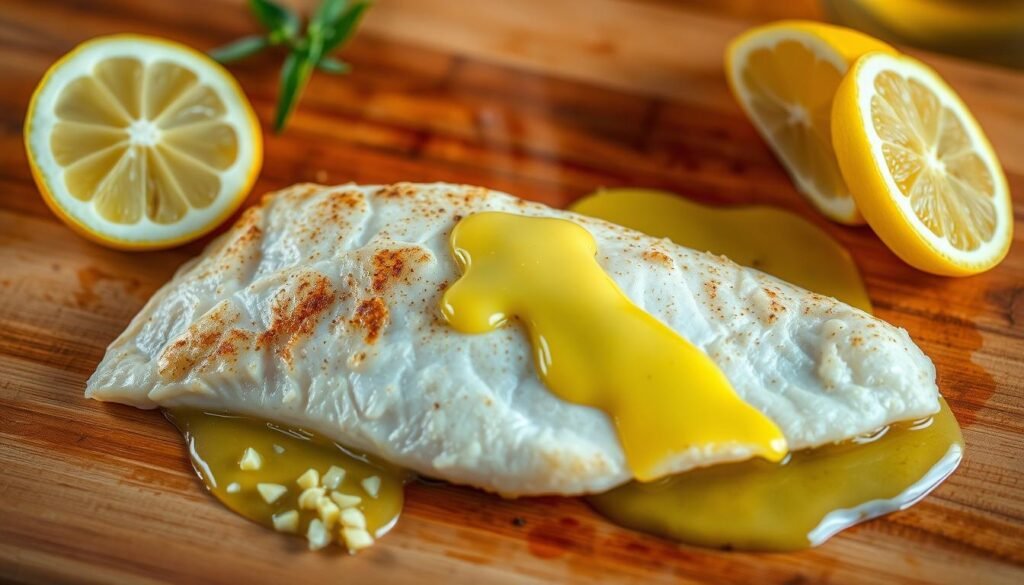
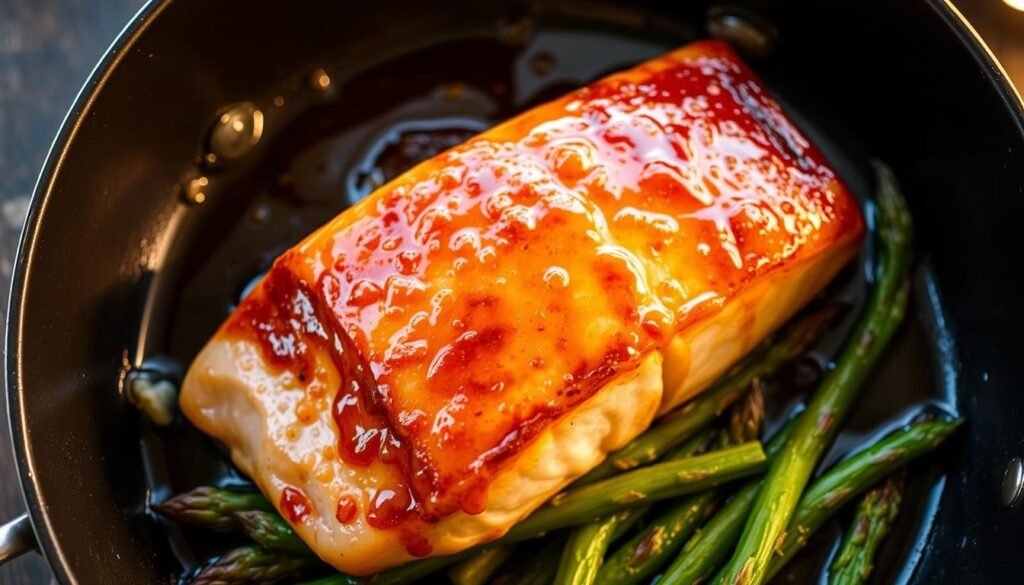
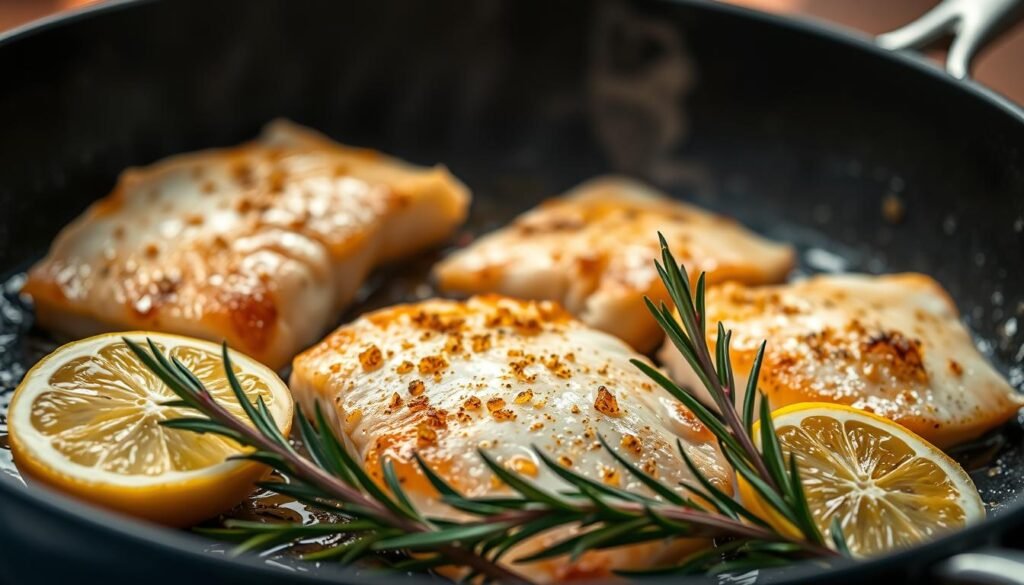
Ever had one of those days where you just want something quick, healthy, and delicious for dinner? We’ve all been there. That’s why this easy-to-make dish is a lifesaver. With fresh tilapia, zesty lemon, and aromatic garlic, it’s a flavor-packed meal that’s ready in just 20 minutes. Perfect for busy weeknights, this recipe is as simple as it gets.
What makes this dish stand out is its balance of simplicity and taste. The tilapia fillets are tender and flaky, while the lemon and garlic add a refreshing and savory kick. Plus, it’s gluten-free and keto-friendly, making it a great option for anyone watching their diet. Whether you’re a seafood enthusiast or cooking for picky eaters, this recipe is a crowd-pleaser.
For more tips and creative cooking ideas, check out Recipe Allstar, where we celebrate the joy of cooking with easy-to-follow recipes and expert advice. Let’s make dinner stress-free and delicious!
Key Takeaways
Quick and easy dinner option ready in 20 minutes.
Uses fresh tilapia, lemon, and garlic for a flavorful meal.
Perfect for busy weeknights and cooks of all skill levels.
Gluten-free and keto-friendly, making it a healthy choice.
Highly recommended by seafood lovers and picky eaters alike.
Introduction to a Quick and Tasty Dinner
Looking for a meal that’s both quick and full of flavor? This dish is perfect for busy weeknights or when you’re short on time. With just 20 minutes from start to finish, it’s a lifesaver for anyone craving a healthy and delicious dinner.
Overview of the Recipe
This recipe uses fresh fish, real butter, and a blend of spices to create a meal that’s both simple and satisfying. The preparation is straightforward, avoiding heavy coatings or complicated steps. It’s designed to be accessible for cooks of all skill levels.
Here’s a quick breakdown of the process:
Prep time: 5 minutes
Cook time: 15 minutes
Total time: 20 minutes
What Makes This Dish Special
The secret to this dish lies in its balance of flavors. The fish is tender and flaky, while the butter and spices add richness and depth. A splash of juice brings a refreshing zing, and a pinch of pepper ties everything together.
“Simplicity is the ultimate sophistication.” – Leonardo da Vinci
Not only is this meal delicious, but it’s also nutritionally balanced. It’s low in carbs and high in protein, making it a great choice for those watching their diet. Plus, it’s versatile enough to pair with your favorite sides.
Nutritional Info (Per Serving)
Amount
Calories
200 kcal
Protein
33 g
Fat
7 g
Carbs
1 g
Whether you’re cooking for yourself or a crowd, this recipe is sure to impress. It’s a quick, healthy, and flavorful option that’s hard to beat.
Why the Lemon Garlic Tilapia Recipe Stands Out
Need a dinner idea that’s both light and satisfying? This dish is a standout for its simplicity and flavor. Unlike richer options like salmon, tilapia offers a mild taste that appeals to a wide range of palates. Its versatility makes it a go-to choice for quick, healthy meals.
One of the key advantages of tilapia is its quick cooking time. While salmon often requires careful preparation, tilapia cooks evenly and fast, making it perfect for busy weeknights. The baked method used in this recipe ensures the fish stays moist and flaky, preserving its natural texture.
The combination of lemon juice and black pepper adds a refreshing and savory kick. These ingredients enhance the mild flavor of the fish without overpowering it. Each ingredient is carefully chosen to create a well-balanced meal that’s both nutritious and delicious.
“Good food is the foundation of genuine happiness.”
Here’s why this recipe shines:
Mild Flavor: Tilapia’s subtle taste makes it ideal for pairing with bold flavors like lemon and garlic.
Health Benefits: It’s low in calories and high in protein, making it a healthier alternative to richer fish like salmon.
Quick Cooking: The baked method ensures the fish is ready in under 20 minutes.
Flavor Enhancers: Lemon juice and black pepper bring out the best in the fish.
Balanced Ingredients: Every ingredient contributes to a harmonious and satisfying dish.
Whether you’re a seafood lover or just looking for a quick, healthy meal, this recipe is a winner. It’s proof that simplicity can lead to extraordinary results.
Gathering Ingredients for a Flavorful Meal
Starting with the right ingredients is the secret to a standout meal. Each component plays a vital role in creating a dish that’s both delicious and memorable. Let’s break down the essentials and why they matter.
Key Ingredients and Their Roles
Here’s what you’ll need to bring this dish to life:
Fresh tilapia fillets: The star of the dish. Fresh fillets ensure a tender, flaky texture and a mild flavor that pairs well with bold seasonings.
Olive oil: A high-quality oil adds richness and helps the fish cook evenly. Use about 3 tablespoons for the best results.
Salt: Just a pinch enhances the natural flavors of the fish and other ingredients.
Garlic cloves: Finely minced, they provide an aromatic boost that’s both savory and fragrant.
Lemon juice: Two tablespoons add a refreshing zing that balances the dish.
Using fresh, high-quality ingredients is crucial. For example, fresh tilapia fillets are firmer and have a cleaner taste compared to frozen ones. Similarly, real olive oil, not substitutes, ensures a richer flavor profile.
“The quality of your ingredients determines the quality of your meal.”
Each ingredient has a purpose. The oil keeps the fish moist, while the salt brings out the natural flavors. A single clove of garlic can transform the dish with its aroma, and a measured tablespoon of lemon juice adds brightness. Together, they create a harmonious blend that’s hard to resist.
Preparing Your Tilapia Fillets
Preparing your fillets correctly is the first step to a perfect meal. Proper handling ensures they stay tender and flavorful, making every bite a delight. Let’s dive into the essential steps to get your fillets ready for cooking.
Cleaning and Patting Dry
Start by rinsing the fillets under cold water to remove any impurities. Use a paper towel to gently pat them dry. Removing excess moisture is crucial—it helps the seasoning stick better and ensures a crispy texture when cooked.
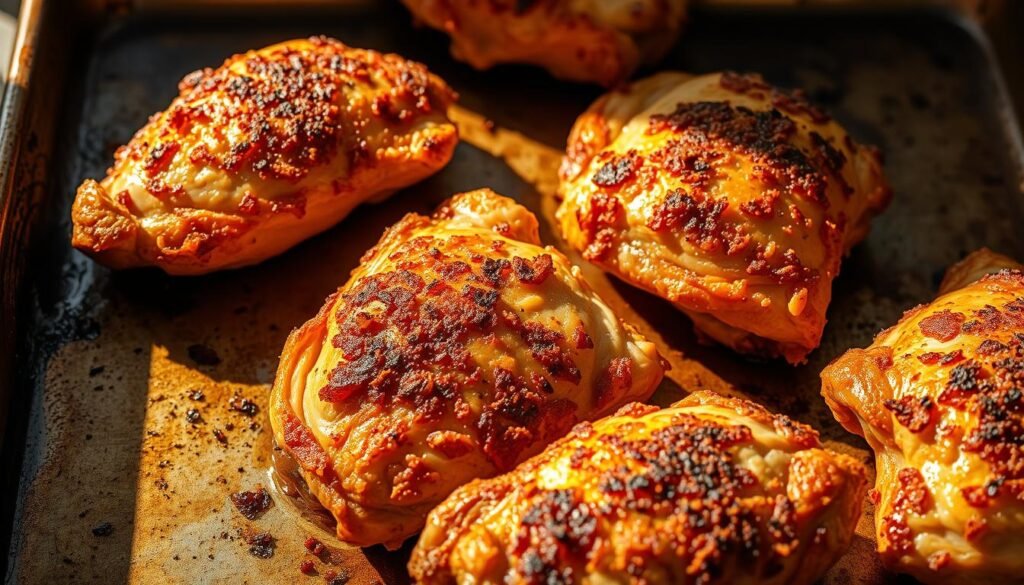
Seasoning for Perfection
Once dry, it’s time to season. Sprinkle a pinch of salt and black pepper evenly over both sides of the fillets. For a touch of heat, add a dash of red pepper flakes. This combination enhances the natural flavor of the fish without overpowering it.
After seasoning, set aside the fillets for a few minutes. This allows the flavors to meld and ensures even cooking. Proper seasoning is the key to achieving a tender, flaky texture that’s hard to resist.
“The secret to great cooking is in the details—seasoning is one of them.”
With your fillets cleaned, dried, and seasoned, they’re ready for the next step. Taking the time to prepare them properly ensures a delicious and satisfying meal every time.
Creating the Irresistible Lemon Garlic Butter Sauce
The secret to elevating your dish lies in the sauce. A well-crafted sauce not only enhances the flavor but also ties all the elements of your meal together. This lemon garlic butter sauce is simple yet incredibly flavorful, making it the perfect complement to your dish.
Whisking the Lemon and Garlic Mixture
Start by melting butter in a small pan over low heat. Once melted, add finely minced garlic and let it simmer for a minute to release its aroma. Pour this mixture into a bowl and whisk in freshly squeezed lemon juice. The combination of tangy lemon and savory garlic creates a base that’s both rich and refreshing.
Balancing the Flavors
To achieve the perfect balance, add a teaspoon dried oregano and a pinch of red pepper flakes. These spices add depth and a subtle kick without overpowering the sauce. Whisk everything together until smooth. Taste and adjust the seasoning if needed, ensuring the flavors are harmonious.
For the final step, gently heat the sauce in the pan for a minute or two. This ensures all the ingredients blend seamlessly, creating a velvety texture that coats the fish beautifully. Follow these instructions carefully, and you’ll have a sauce that enhances every bite of your meal.
Ingredient
Measurement
Butter
1/2 cup
Garlic
3 cloves, minced
Lemon Juice
2 tablespoons
Oregano
1 teaspoon dried
Red Pepper Flakes
Pinch
This sauce is not just an addition—it’s the star that brings your dish to life. With its rich, balanced flavors, it’s sure to impress everyone at the table.
Cooking Methods: Baking vs. Pan Searing
When it comes to cooking fish, the method you choose can make all the difference. Baking and pan searing are two popular options, each offering unique benefits. Whether you prefer a crispy exterior or a tender, flaky texture, understanding these methods ensures your dish turns out perfectly every time.
Oven Baking Tips
Baking is a convenient option that allows you to cook multiple fillets at once. Preheat your oven to 425°F for even cooking. Place the fish on a lined baking sheet and bake for 10-12 minutes. This method ensures a tender result without the need for constant monitoring.
For best results, avoid overcrowding the baking sheet. This allows heat to circulate evenly, preventing the fish from steaming instead of baking. Use a medium heat setting to achieve a golden, flaky texture without overcooking.
Pan Searing Guidelines
Pan searing is ideal for those who love a crispy exterior. Heat a skillet over medium heat and add a small amount of oil. Cook the fish for 3-4 minutes per side, depending on thickness. This method locks in moisture while creating a delicious crust.
To prevent sticking, ensure the skillet is hot before adding the fish. Pat the fillets dry with a paper towel to remove excess moisture. This simple step ensures a perfect sear every time.
Method
Pros
Cons
Baking
Even cooking, minimal effort
Less crispy exterior
Pan Searing
Crispy crust, quick cooking
Requires more attention
Both methods yield a delicious dish when done correctly. Whether you choose baking or pan searing, following these tips ensures your fish is cooked to perfection. Experiment with both options to find your preferred cooking style.
Step-by-Step Cooking Process
Achieving the ideal texture and flavor requires careful attention to detail. Follow this guide to ensure your dish turns out perfectly every time. From preheating the oven to checking for doneness, each step is designed to make the process simple and stress-free.
Preheat, Arrange, and Execute
Start by preheating your oven to 425°F. This ensures even cooking and a flaky texture. While the oven heats, prepare your fillets by patting them dry with a paper towel. This step is crucial for achieving a golden finish.
Next, measure out your seasonings. Use a teaspoon to ensure consistency—this is especially important for spices like salt and pepper. Sprinkle the seasonings evenly over both sides of the fillets.
Place the fillets in a baking dish, making sure they’re arranged in a single layer. Avoid overcrowding to allow heat to circulate evenly. This ensures each piece cooks uniformly.
Once the oven is ready, bake the fillets for 10-12 minutes. Keep an eye on them to prevent overcooking. A friendly comment: “Timing is key, so set a reminder if needed!”
Checking for Doneness
To check if the fish is done, look for a visible flake when you gently press the fillet with a fork. The flesh should separate easily and appear opaque. If it’s still translucent, bake for another 1-2 minutes.
For added precision, use a meat thermometer. The internal temperature should reach 145°F. This ensures the fish is cooked through while remaining tender and moist.
Here’s a quick summary of the steps:
Step
Details
Preheat
425°F
Season
Use a teaspoon for accuracy
Arrange
Single layer in baking dish
Bake
10-12 minutes
Check
Look for a flake or use a thermometer
With these steps, you’ll have a perfectly cooked dish that’s both flavorful and tender. Happy cooking!
Serving Suggestions and Side Dish Ideas
Looking for the perfect accompaniments to your main dish? Let’s explore some delicious options. The right sides can transform a simple meal into a feast, balancing flavors and adding variety. Whether you prefer something light or hearty, these ideas will elevate your dinner experience.
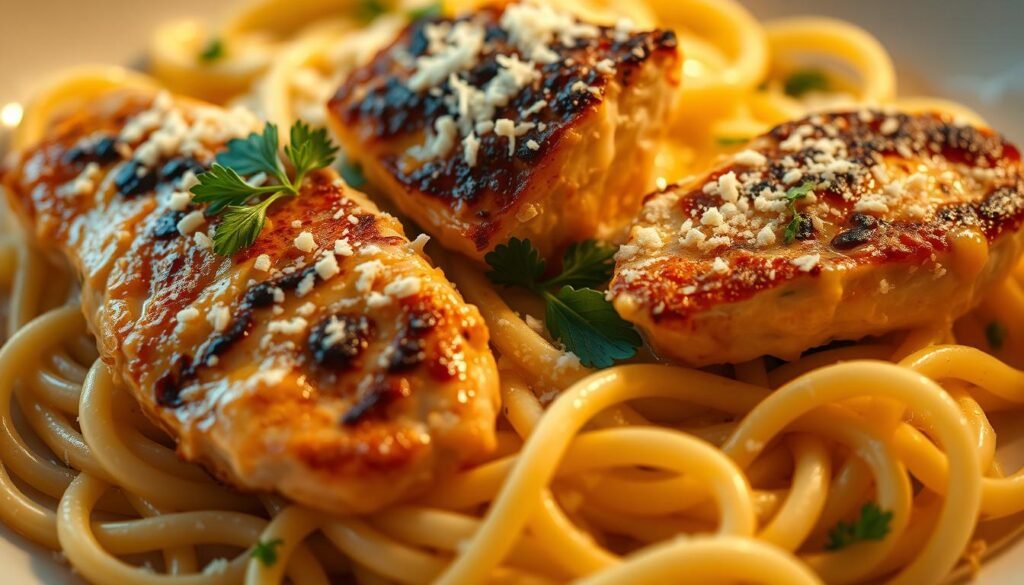
Pairing with Salads and Rice
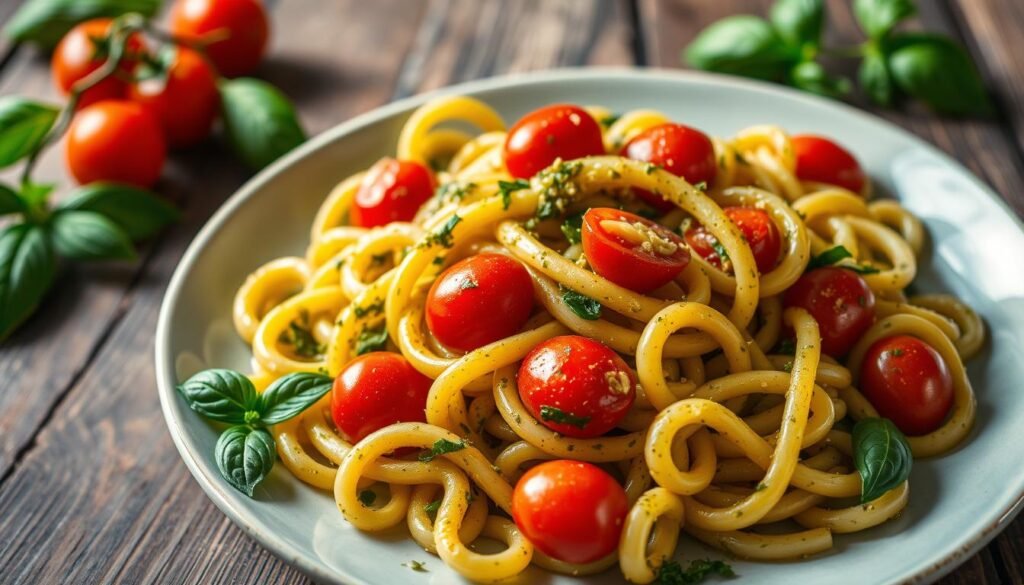
A light green salad is an excellent choice to complement your dish. Fresh greens, cherry tomatoes, and a tangy vinaigrette add a refreshing contrast. For a heartier option, fluffy rice works wonders. Try jasmine or basmati rice for a fragrant touch that pairs beautifully with the flavors of your meal.
Here are some popular combinations:
Rice pilaf with vegetables for added nutrition.
A zesty salad with mixed greens and a citrus dressing.
Quinoa or wild rice for a nutrient-packed alternative.
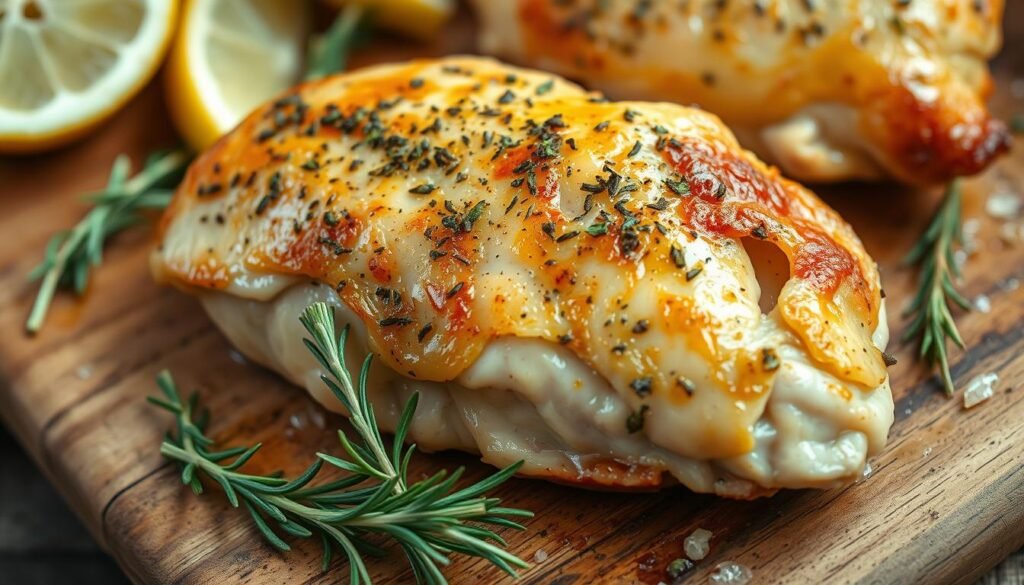
Garnishing with Fresh Herbs
Presentation matters, and garnishing can make your dish look as good as it tastes. Sprinkle freshly chopped parsley over your meal for a burst of color and flavor. Add a few lemon slices for a decorative touch that also enhances the dish’s tangy notes.
These garnishes not only look beautiful but also balance the acidity of the sauce. Experiment with other herbs like cilantro or dill for a unique twist.
Side Dish
Preparation Time
Green Salad
10 minutes
Rice Pilaf
20 minutes
Roasted Vegetables
25 minutes
Don’t be afraid to get creative with your sides. Seasonal produce can inspire new combinations, making every meal unique. Thoughtful presentation and balanced flavors will turn a simple dinner into an impressive culinary experience.
Conclusion
Ready to elevate your dinner game with a dish that’s both quick and nutritious? This easy-to-make meal combines simplicity with bold flavors, making it perfect for busy weeknights. With minimal prep and cooking time, it’s a go-to option for anyone seeking a healthy and satisfying dinner.
The recipe’s versatility allows you to experiment with your favorite herbs and spices while keeping the essential elements intact. Whether you’re a seasoned cook or a beginner, this dish is designed to impress without the hassle. Its low-calorie, high-protein profile makes it a smart choice for balanced eating.
Don’t forget to add a sprinkle of fresh herbs for a vibrant finish. It’s a small touch that elevates the dish and adds a burst of flavor. We’d love to hear how it turns out for you—share your experience in the comments below!
Inspired to try something new? This meal proves that healthy eating can be both delicious and effortless. Give it a try and enjoy the rewards of a well-crafted dinner!
FAQ
Can I use frozen tilapia fillets for this recipe?
Yes, you can! Just make sure to thaw them completely and pat them dry before seasoning to ensure the best texture and flavor.
What’s the best way to balance the flavors in the lemon garlic butter sauce?
Start with fresh lemon juice and minced garlic, then adjust with a pinch of salt and black pepper. Taste as you go to find the perfect balance for your palate.
Can I substitute tilapia with another type of fish?
Absolutely! Salmon or cod works well as a substitute. Just adjust the cooking time slightly based on the thickness of the fillets.
How do I know when the tilapia is fully cooked?
The fish should flake easily with a fork and reach an internal temperature of 145°F. Avoid overcooking to keep it tender and moist.
What side dishes pair well with this dish?
Steamed rice, roasted vegetables, or a fresh green salad are excellent options. Add a sprinkle of parsley for a pop of color and flavor.
How should I store leftovers?
Place the cooled fish in an airtight container and refrigerate for up to 2 days. Reheat gently in the oven or on the stovetop to maintain its texture.
Can I make the lemon garlic butter sauce ahead of time?
Yes, you can prepare the sauce in advance and store it in the fridge for up to a day. Just give it a quick whisk before using.
Is baking or pan-searing better for this recipe?
Both methods work great! Baking is hands-off and ideal for even cooking, while pan-searing gives a delicious crispy crust. Choose based on your preference.